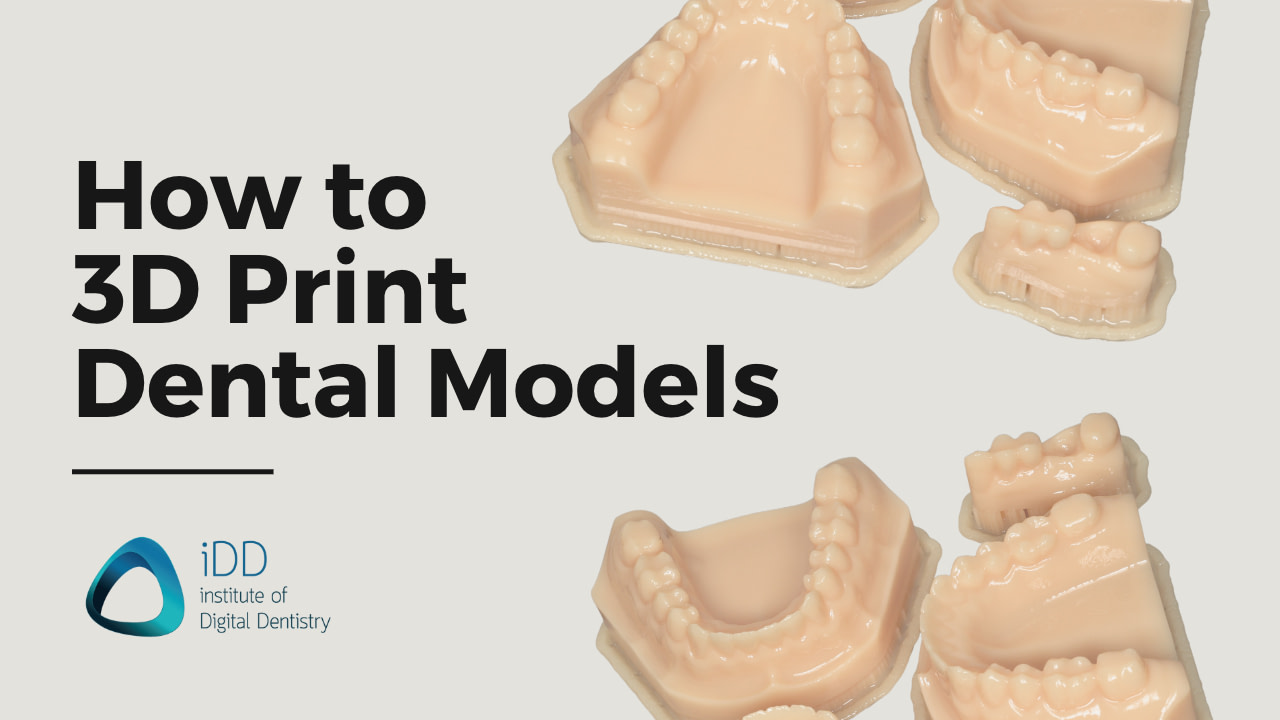
3D printing, also known as additive manufacturing, has revolutionized various industries with its ability to create detailed and precise three-dimensional objects.
In dentistry, 3D printing is now playing a critical role in many indications such as fabricating accurate dental models. This is how we turn our digital scans into a physical model without the need for gypsum and stone.
In this blog, we’ll go over the steps involved in 3D printing dental models. So if you’re just starting out on your digital dentistry journey, recently purchased a 3D printer, or are in need of a general refresher, then this article is for you.
Watch our workflow video or continue scrolling to read the full outline below.
Step 1: Intraoral Scanning
A digital impression of the patient's teeth and gums is taken using an intraoral scanner.
Depending on what you need the models for, this will include a mandibular and maxillary arch scan and bite.
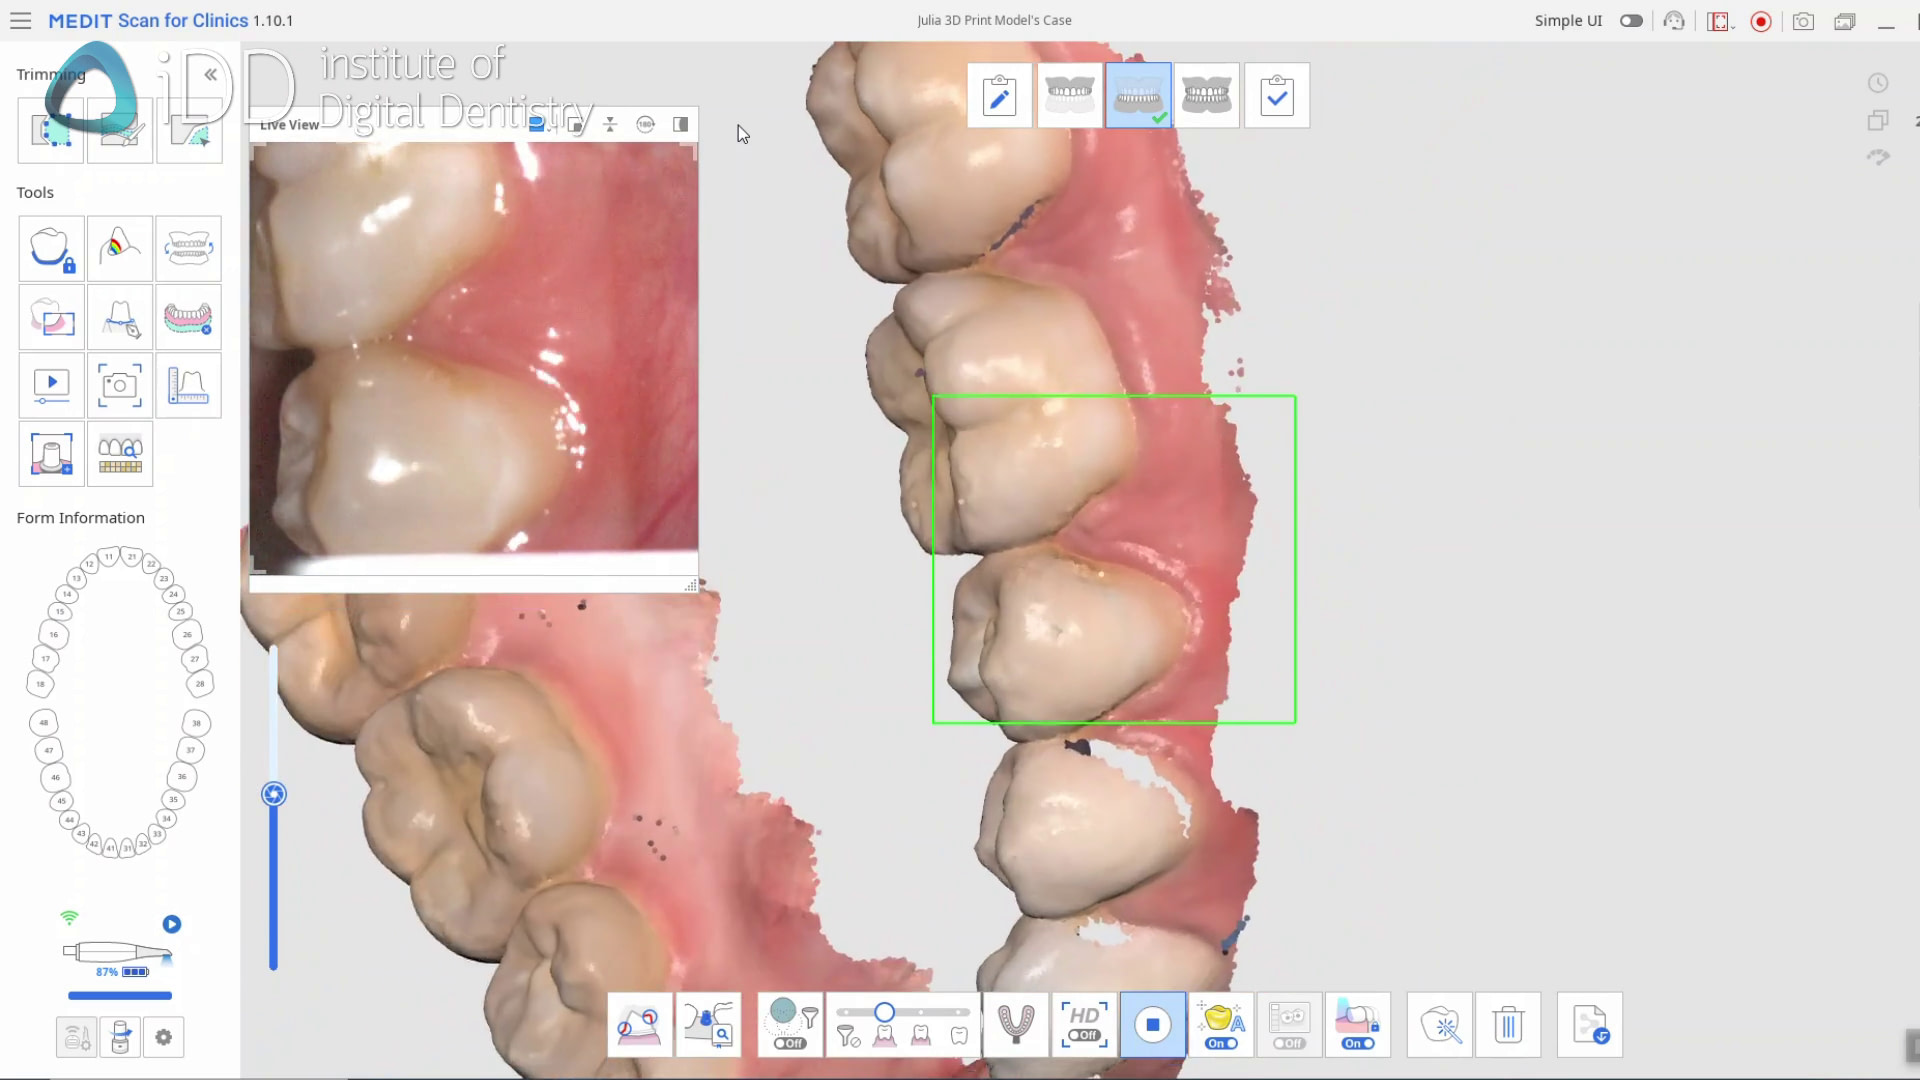
Digital impressions of the patient's teeth and gums were taken using a Medit i700 wireless intraoral scanner.
Step 2: Create a Model from a Scan
Once the digital impression is obtained, it is imported into a 3D model builder software. Many of these types of software exist nowadays, such as 3Shape model builder or Medit model builder.
The reason for the software is that you cannot print a scan. It is a thin mesh. We need to turn a scan into a 3D-printable object. Traditionally Meshmixer was used for this, but dental 3D model builders are much more efficient and easier to use.
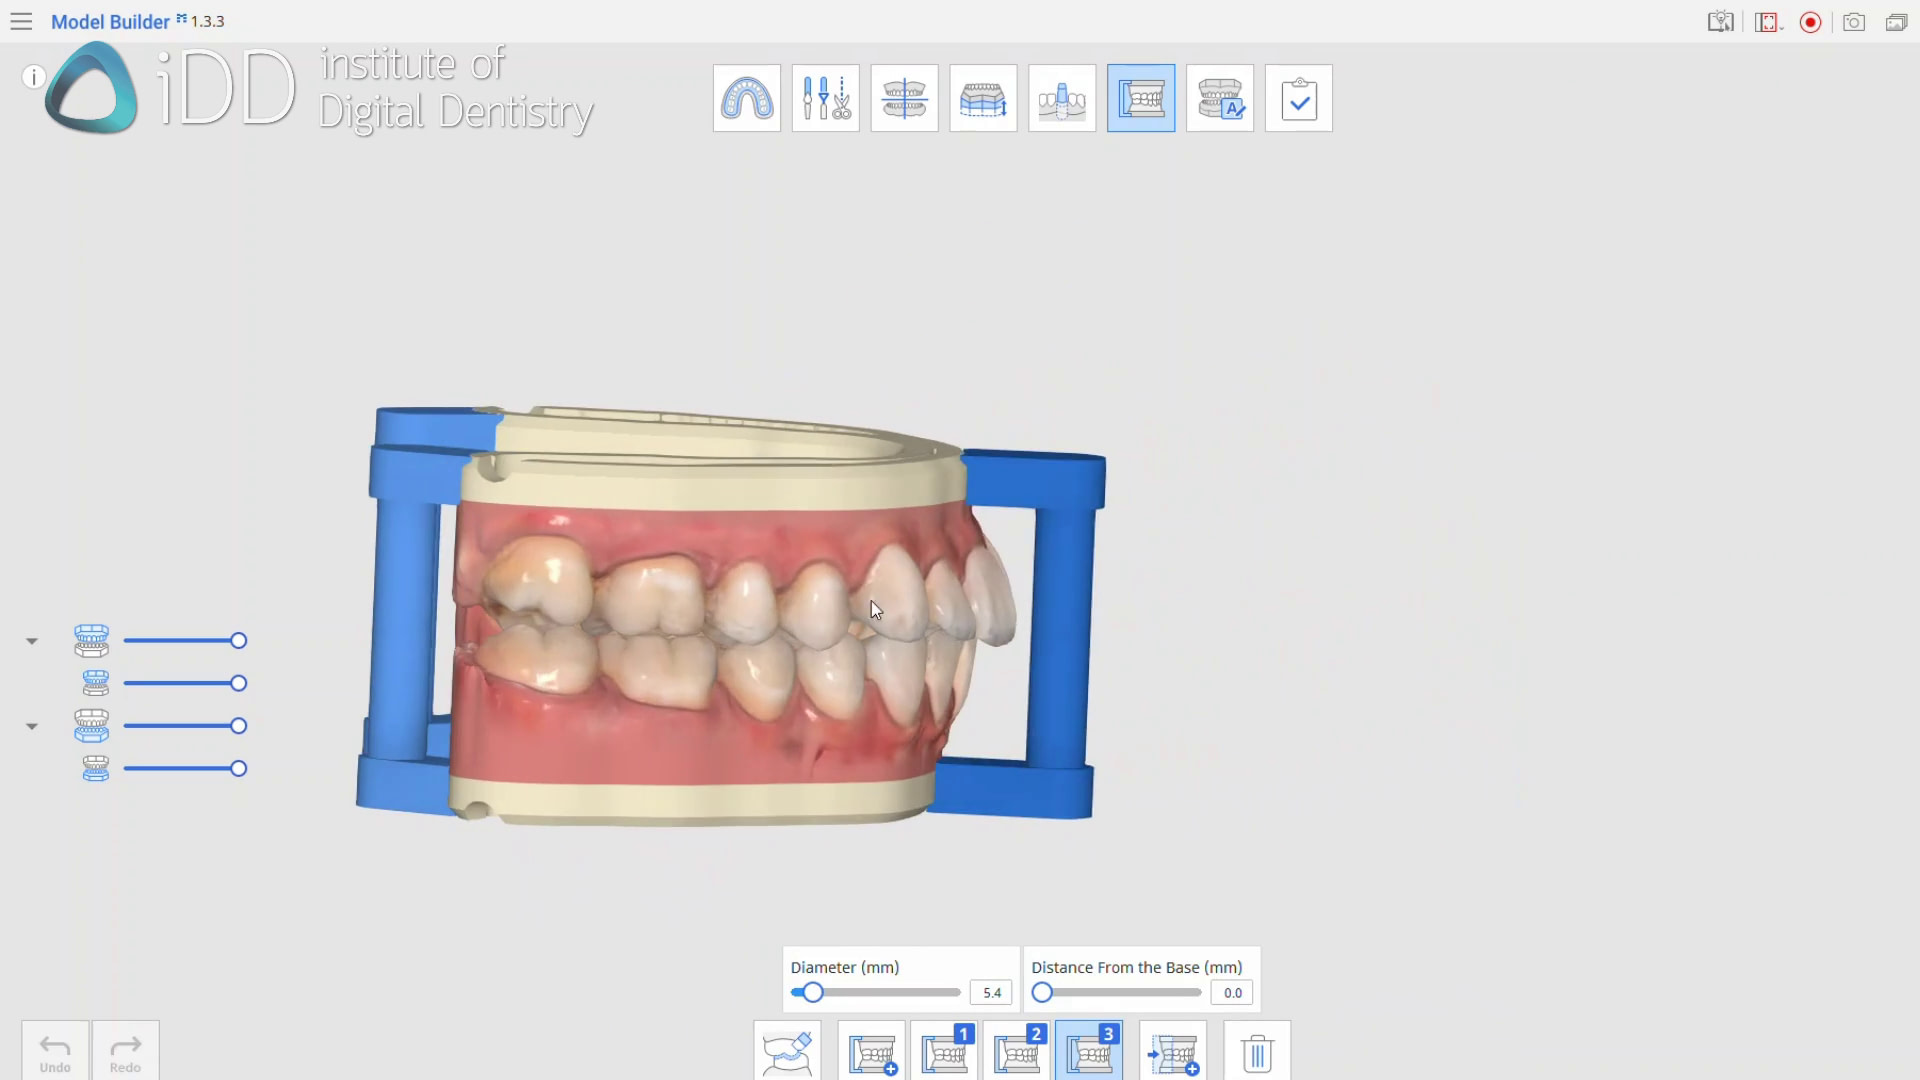
Scans are imported into a model builder software - in this case, Medit Model Builder was used.
Once we're happy with the design, we set it up for 3D printing using the 3D printer's slicing software.
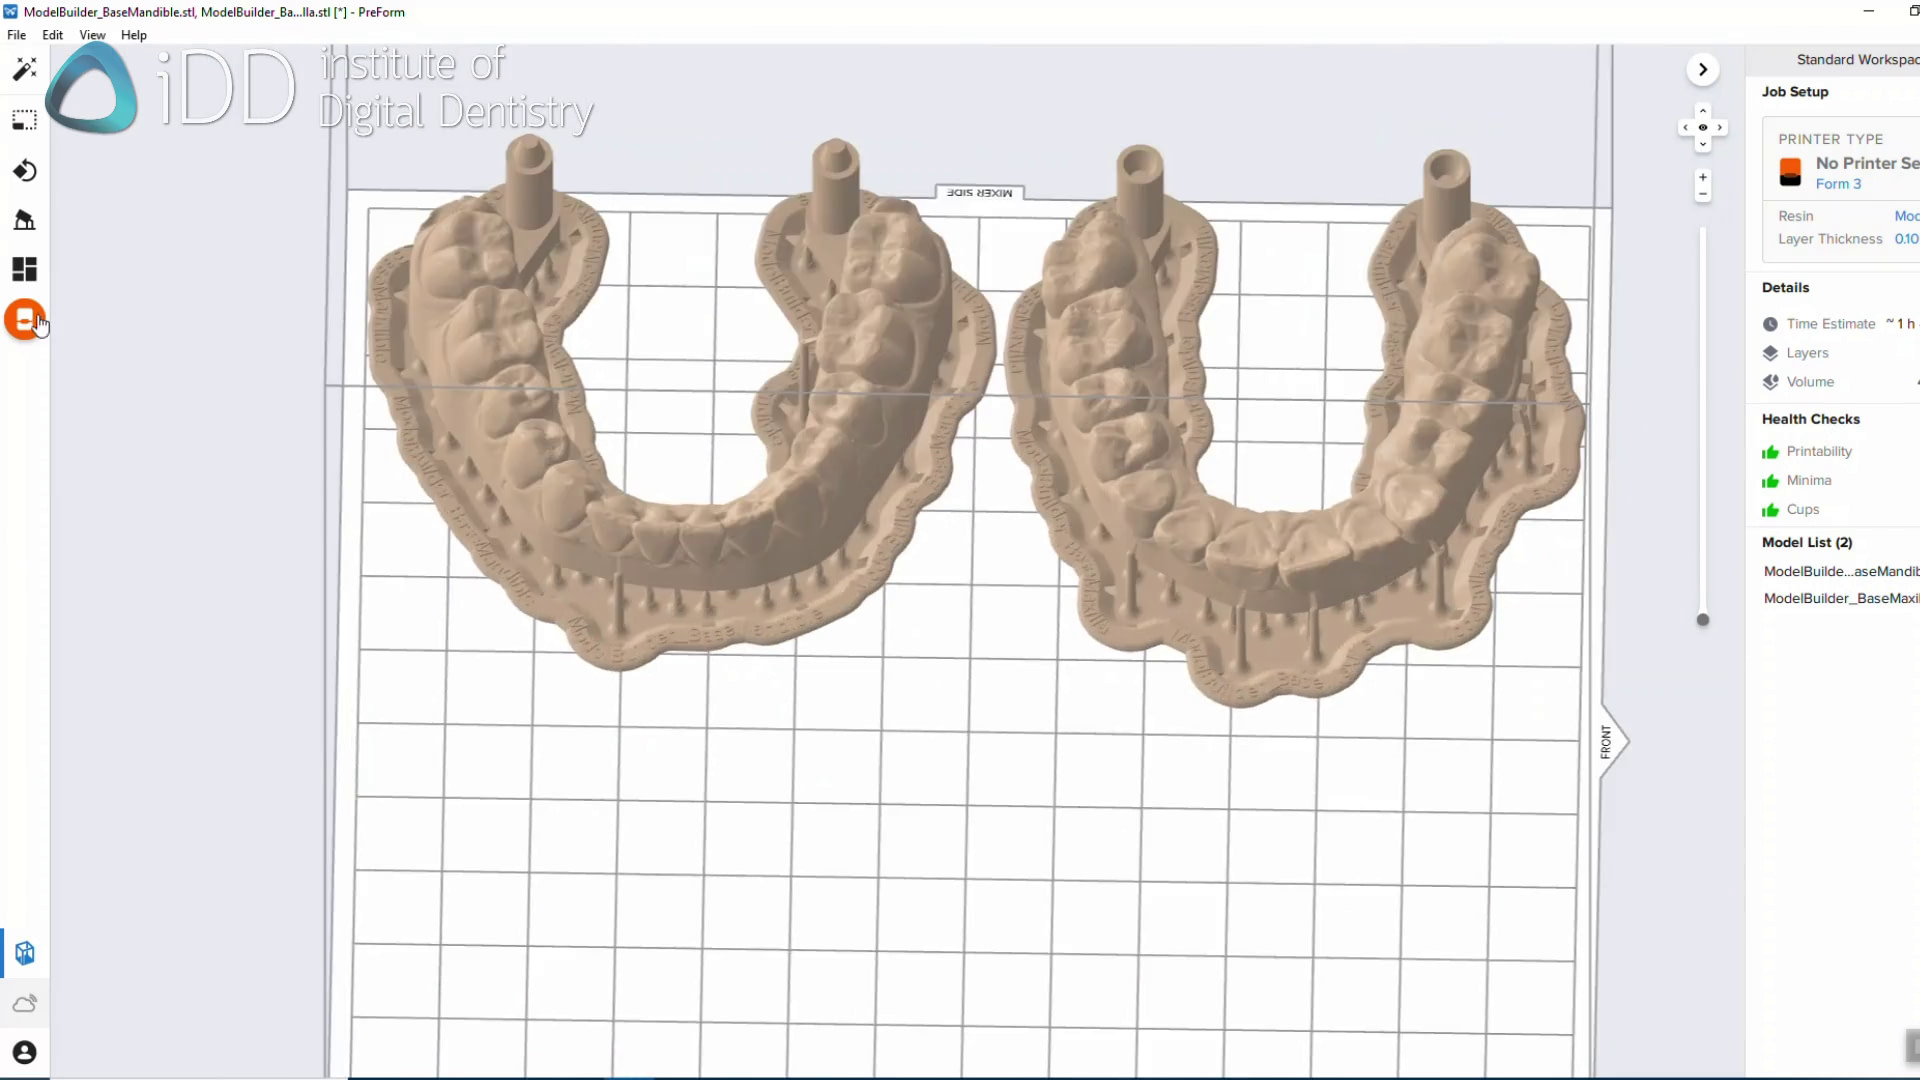
Mesh scans are converted into a printable model.
Step 3: Preparing the 3D Printer
Proper calibration and setup of the 3D printer are crucial to ensure accurate and reliable prints. Depending on the printer this may involve levelling the build plate, which provides a stable foundation for printing, and loading the chosen 3D printing material into the printer.
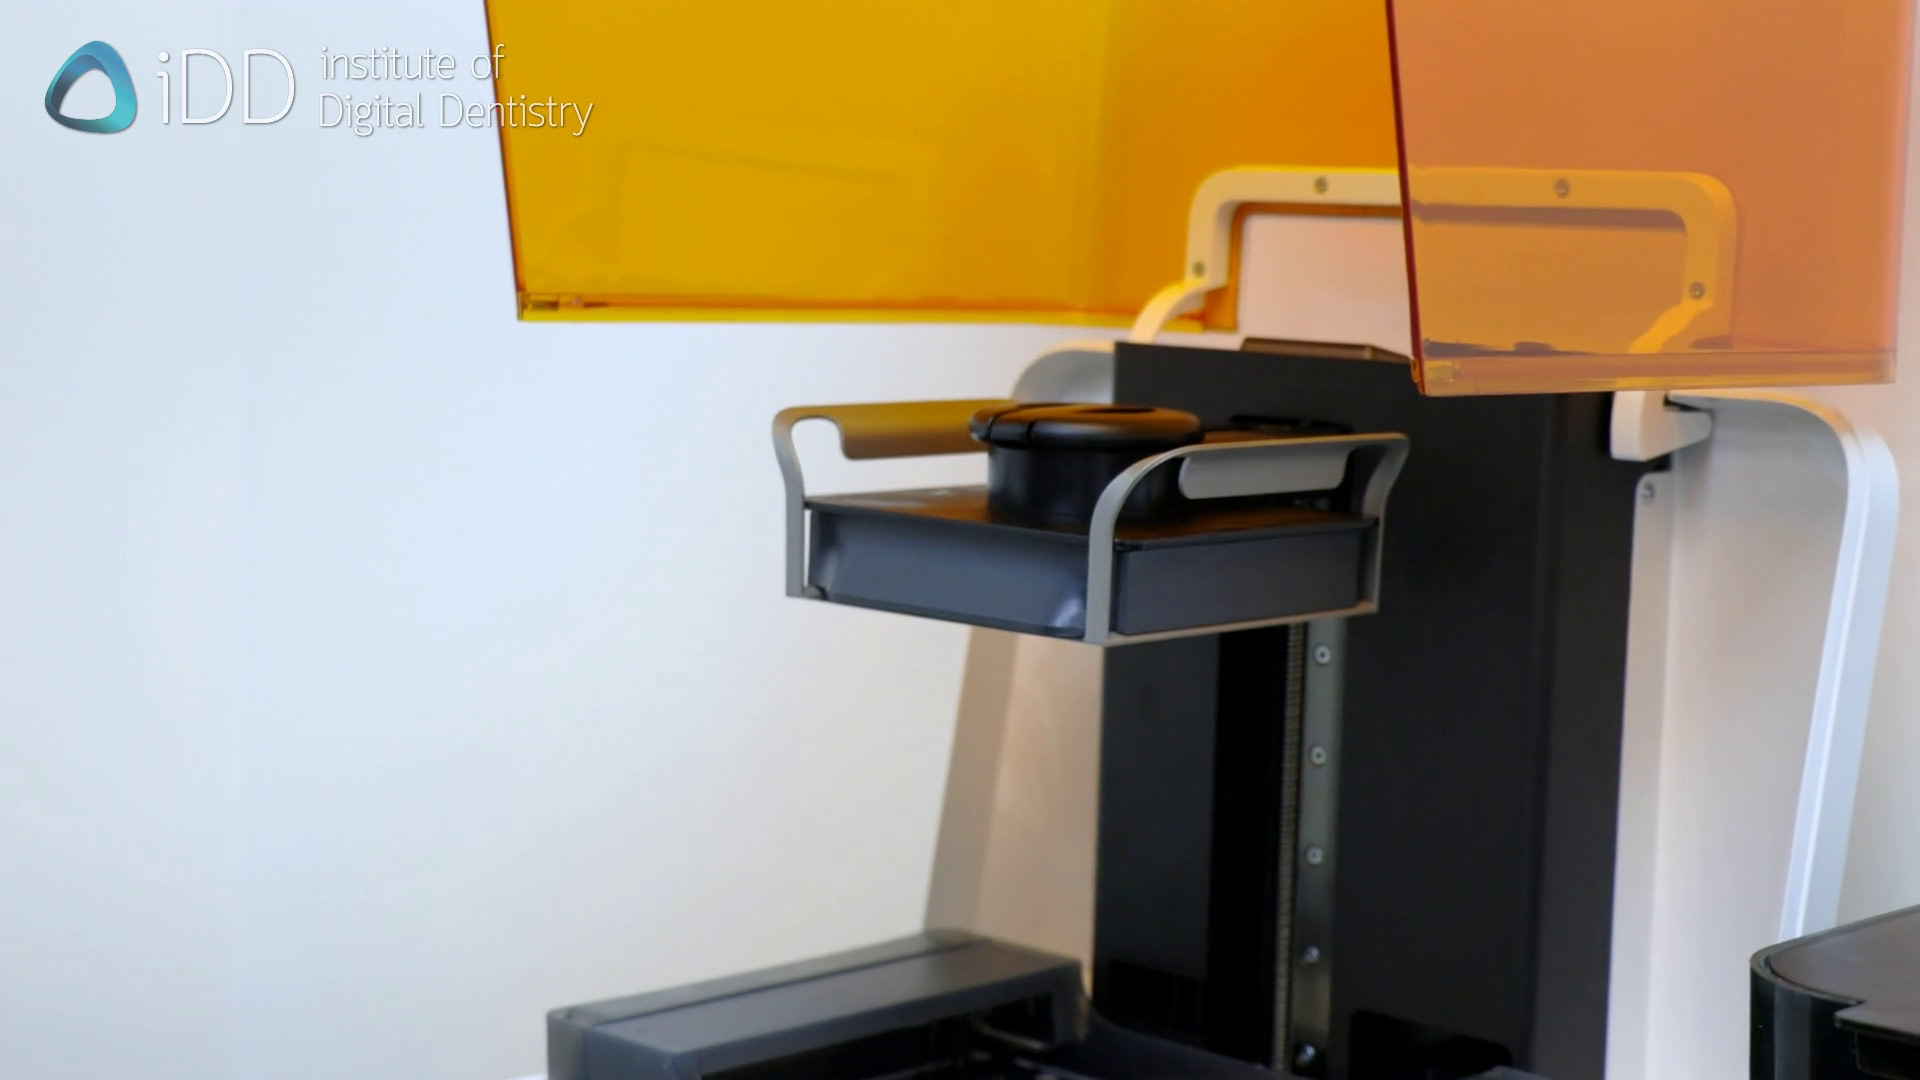
Preparing the 3D printer build platform, Formlabs 3B+.
It is important to note that with any 3D printer you are using or any resin you are printing with, you need to make sure to follow the manufacturer's guidelines.
When using dental 3D printers this is easy as they come with presets. Just simply choose the resin you want to print on the printer itself and it will have all the settings pre-installed and ready.
When using hobbyist printers (often found on Amazon) to print dental models you will need to adjust print settings, including layer thickness, resolution, print speed, and temperature, for the specific resin of choice.
Step 4: 3D Printing the Dental Models
With the setup complete, the 3D printing process can now be initiated.
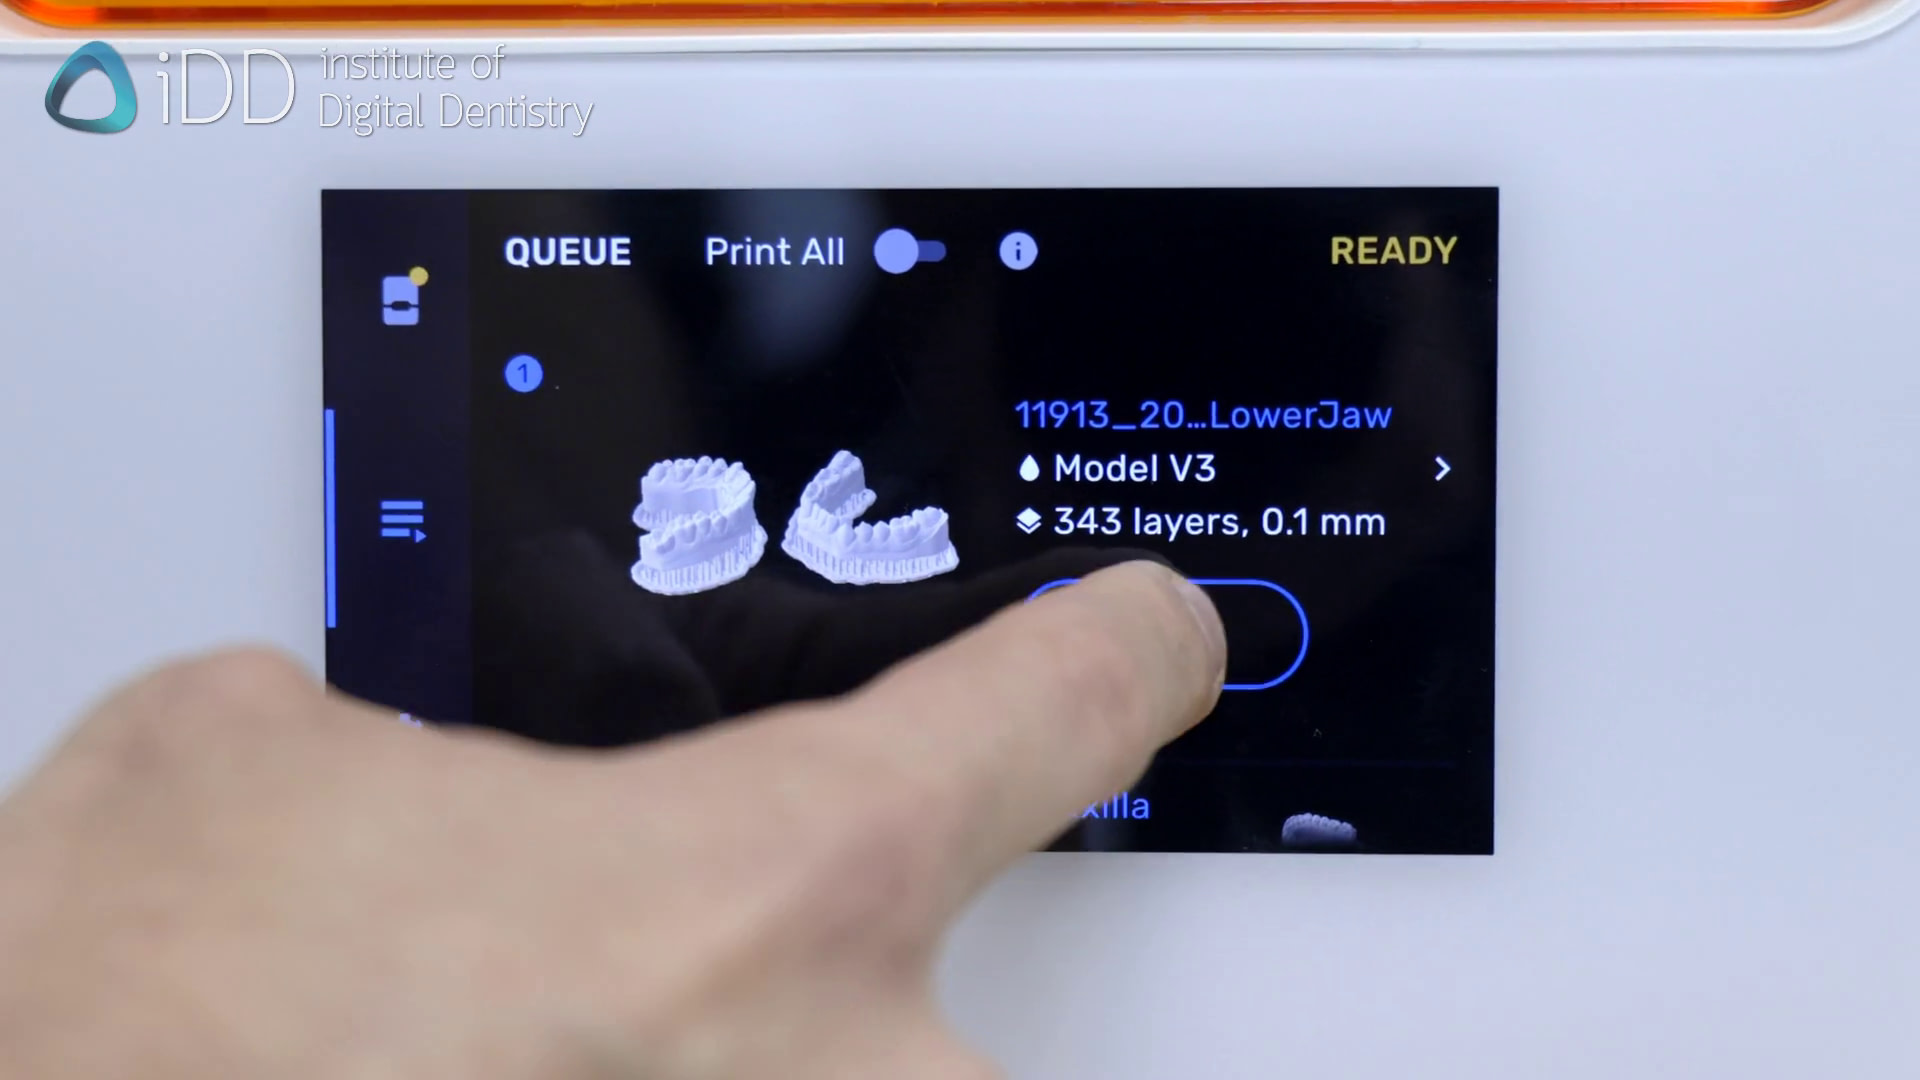
The 3D printer process is initiated.
It is important to monitor the progress of the print to address any potential issues that may arise during the printing process.
Step 5: Post-Processing
Once printing is complete, post-processing steps are performed to ensure a clean and accurate dental model.
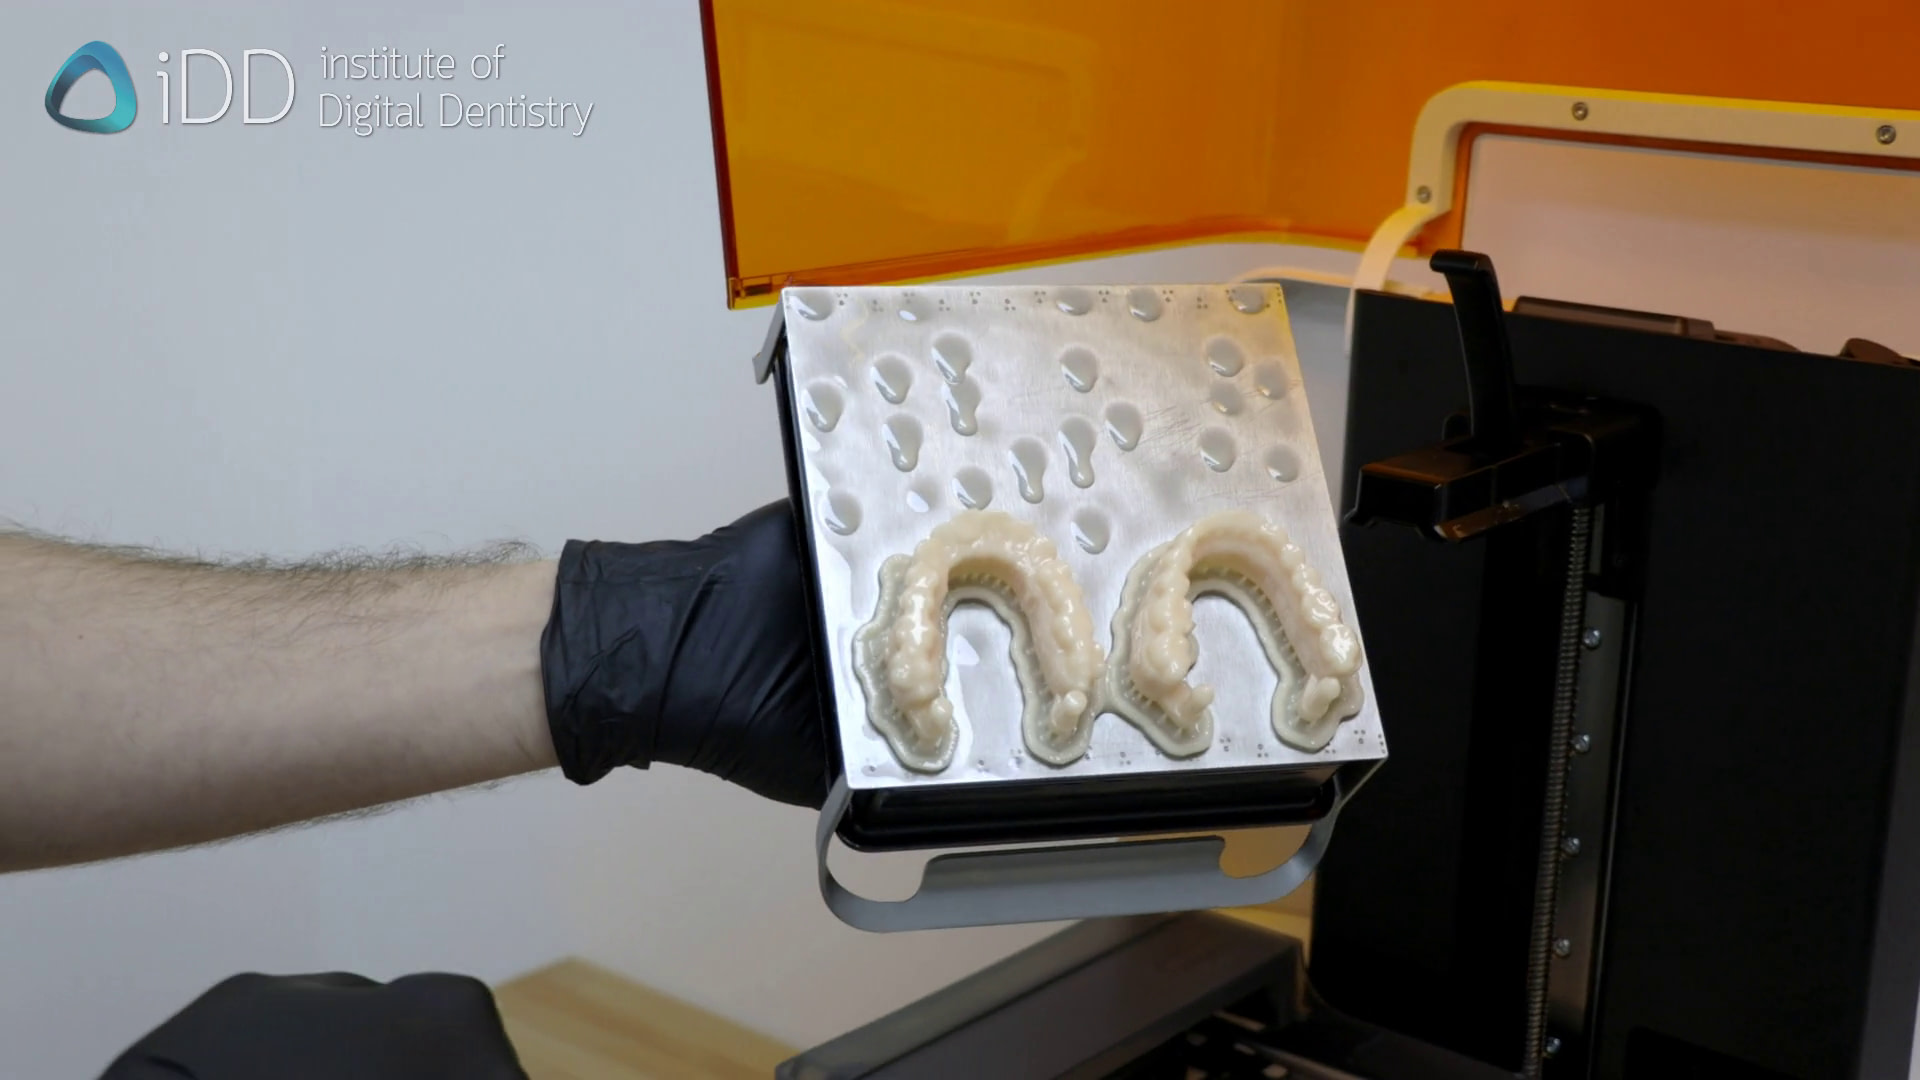
Finished models printed on the print platform, ready for post-processing.
The model is removed from the printer platform, then washed in 99% isopropyl alcohol twice, before finally curing in a light cure unit.
Just like print settings, each resin has different curing times and even temperature requirements to ensure it is correctly cured. On top of that the specific wavelength of light is also important. When you use a dental curing unit, you simply just pick the resin you printed and the rest is done for you.
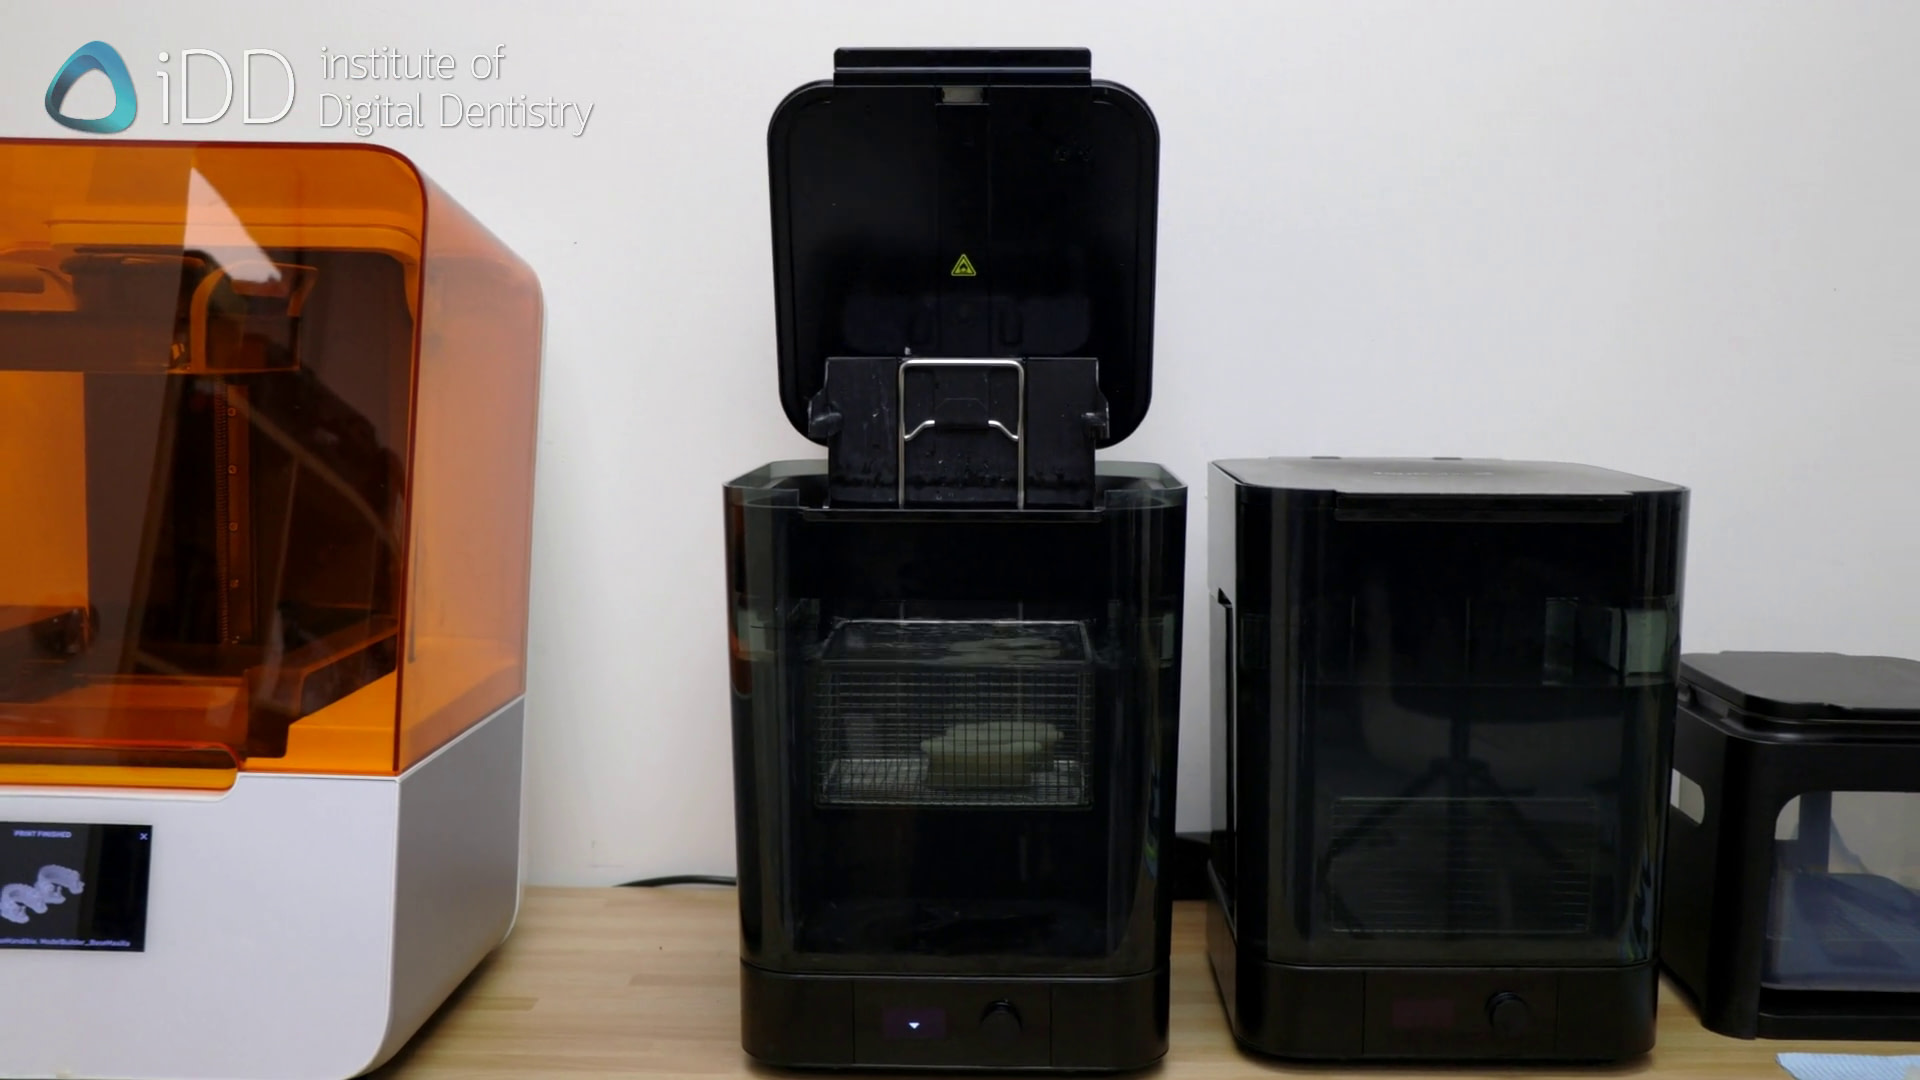
The printed models are washed in 99% isopropyl alcohol.
Step 6: Finishing
After curing, the print supports are removed.
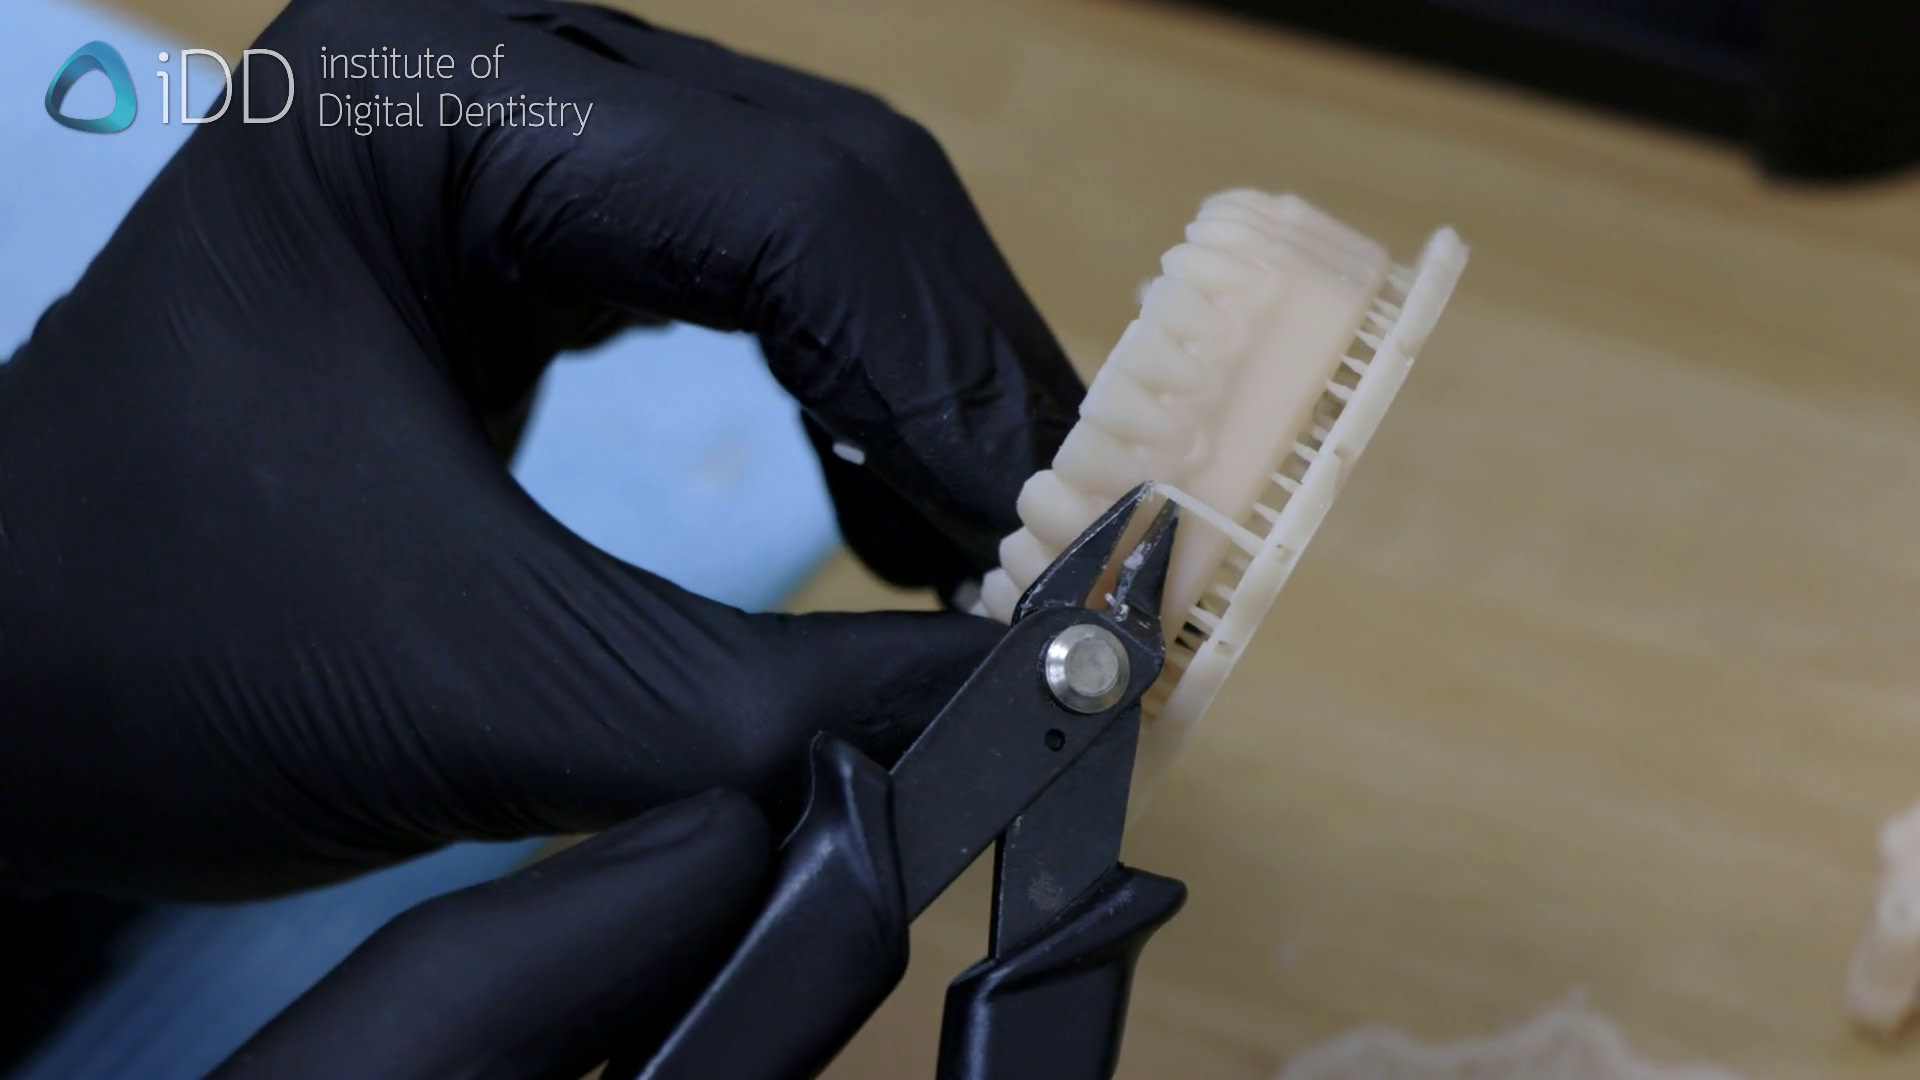
Model supports are removed.
It is essential to perform a thorough quality control check to validate the accuracy of the dental model. Inspecting the model for dimensional precision and surface detail is also critical.
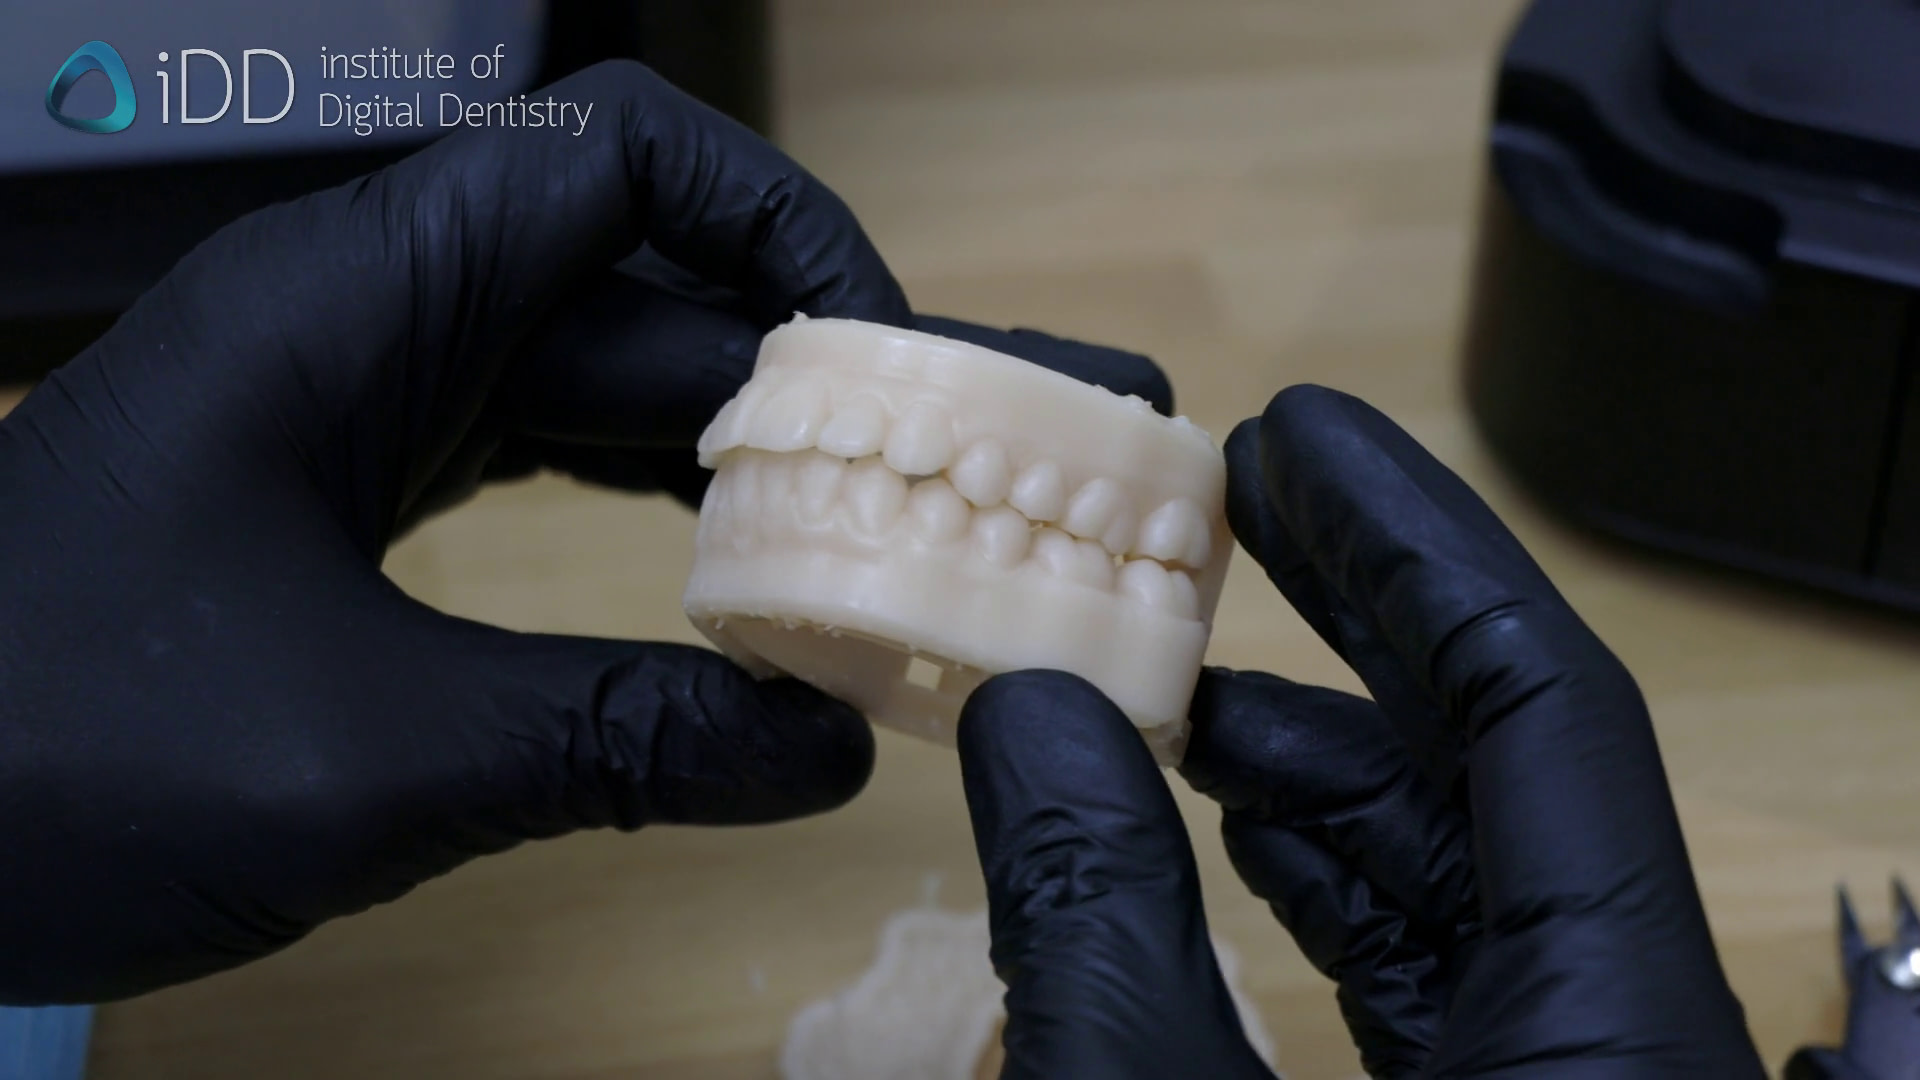
Finished printed models.
We can also compare the printed model with the initial digital impression to help ensure anatomical accuracy, which is fundamental for treatment planning and communication with patients and other dental professionals.
Applications and Benefits of 3D Printing
The applications of 3D-printed dental models are extensive. First and foremost printed models are used for everything that you would otherwise pour stone models for - treatment planning, assessment, wax-ups, etc. They help facilitate improved treatment planning and communication.
Printed models are also used for various applications like thermoforming nightguards, splints, and aligners, etc.
By understanding the process, selecting appropriate materials, and ensuring proper setup and quality control, dental professionals can harness the advantages of 3D printing technology.
Do you have a 3D printer in your practice or do you implement 3D printing in your dentistry? Let us know in the comments below.
Attend our upcoming two-day lecture and hands-on workshop Master Scanning and 3D Printing in Your Clinic in Melbourne and Sydney, Australia this July and November.
If you can’t make it to our live courses, check out our 3D Printing and Design course bundle available online now with our Premium membership or as a one-off purchase discounted at 50% off.

