Dental splints and nightguards are dental appliances that serve multiple purposes, from protecting teeth to managing bruxism and temporomandibular joint disorders.
The emergence of 3D printing technology and quality resin materials has revolutionized their fabrication, offering significant advantages in terms of accuracy, customization, and efficiency.
Previously, we went over the steps involved in 3D printing dental models. In this article, we’ll explore the process of 3D printing dental splints and nightguards.
You can watch the entire workflow in the video at the top of the page, or follow our step-by-step guide.
Step 1: Intraoral Scanning
A digital impression of the patient's teeth and gums is taken using an intraoral scanner.
This includes a mandibular and maxillary arch scan and an occlusal bite.

Digital impressions of the patient's teeth and gums were taken using 3Shape’s TRIOS 5 wireless intraoral scanner.
Step 2: Designing and Preparing the Splint
Once the digital impression is completed, it is imported into a range of different software to design the splint.
In this case we used exocad.

Scans are imported and designed in exocad.
Once we're happy with the design, we set it up for 3D printing using the 3D printer's slicing software. Each printer comes with its own software for this purpose.
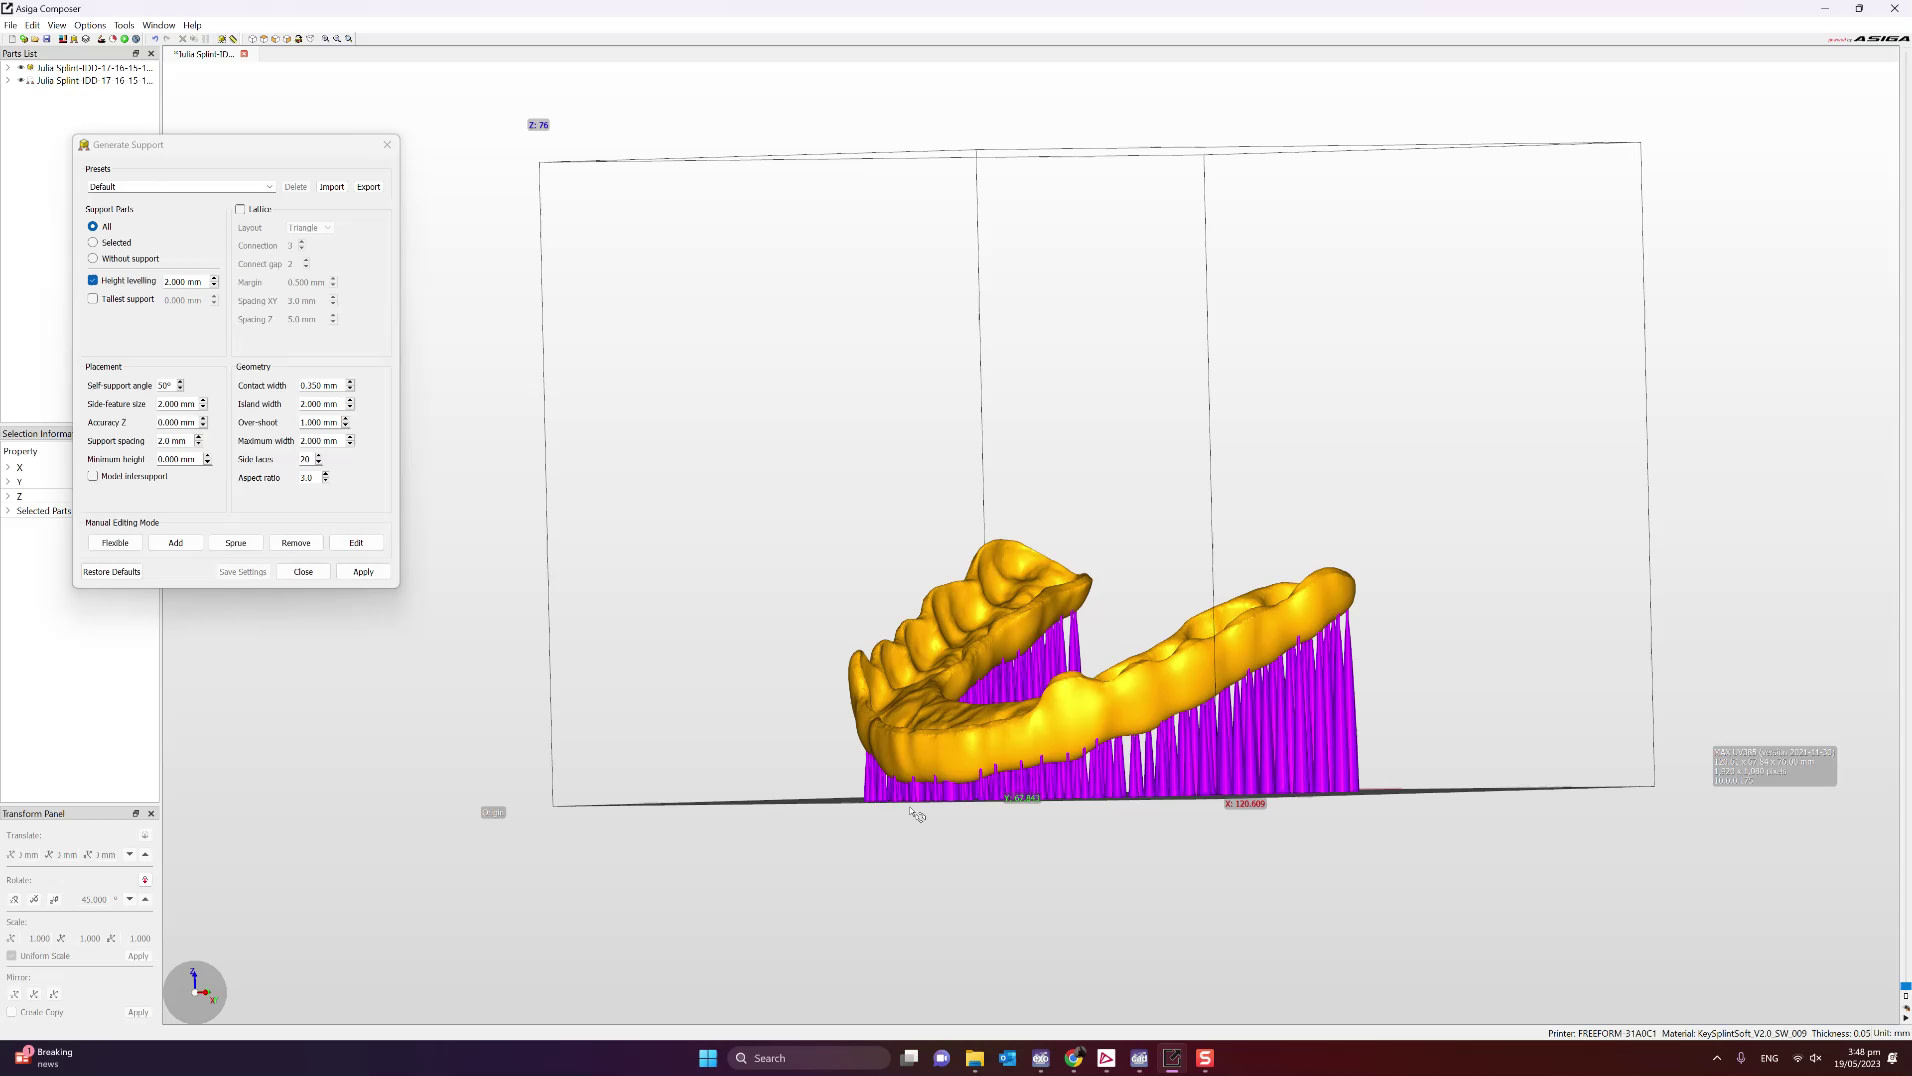
Nesting the splint properly and ensuring the intaglio surface is not facing the build platform is essential for a successful print.
It is generally recommended to print the splint at a 45-degree angle to optimize its structural integrity.
In this case we used the Asiga Max UV 3D printer and sotware.

The splint is nested at a 45-degree angle, ready to be printed.
Step 3: Preparing the Resin and Printer
Just like in our 3D Printing Dental Models article, with every case you 3D print, the resin and printer need to be prepared.
Often this means mixing the resin by shaking the resin bottle or on a roller. This is because the resin material tends to separate when left still for a while. Shaking the bottle may not always be ideal as it can introduce bubbles into the resin liquid.
Proper calibration and setup of the 3D printer are crucial to ensure accurate and reliable prints. Depending on the printer this may involve leveling the build plate, which provides a stable foundation for printing, and loading the chosen 3D printing material into the printer.

Preparing the 3D printer build platform, Asiga Max UV.
It is important to note that with any 3D printer you are use or any resin you are printing with, you need to make sure to follow the manufacturer's guidelines.
When using dental 3D printers this is easy as the printer itself comes with preset settings. Just simply choose the resin you want to print on the printer itself and it will have all the settings pre-installed and ready.

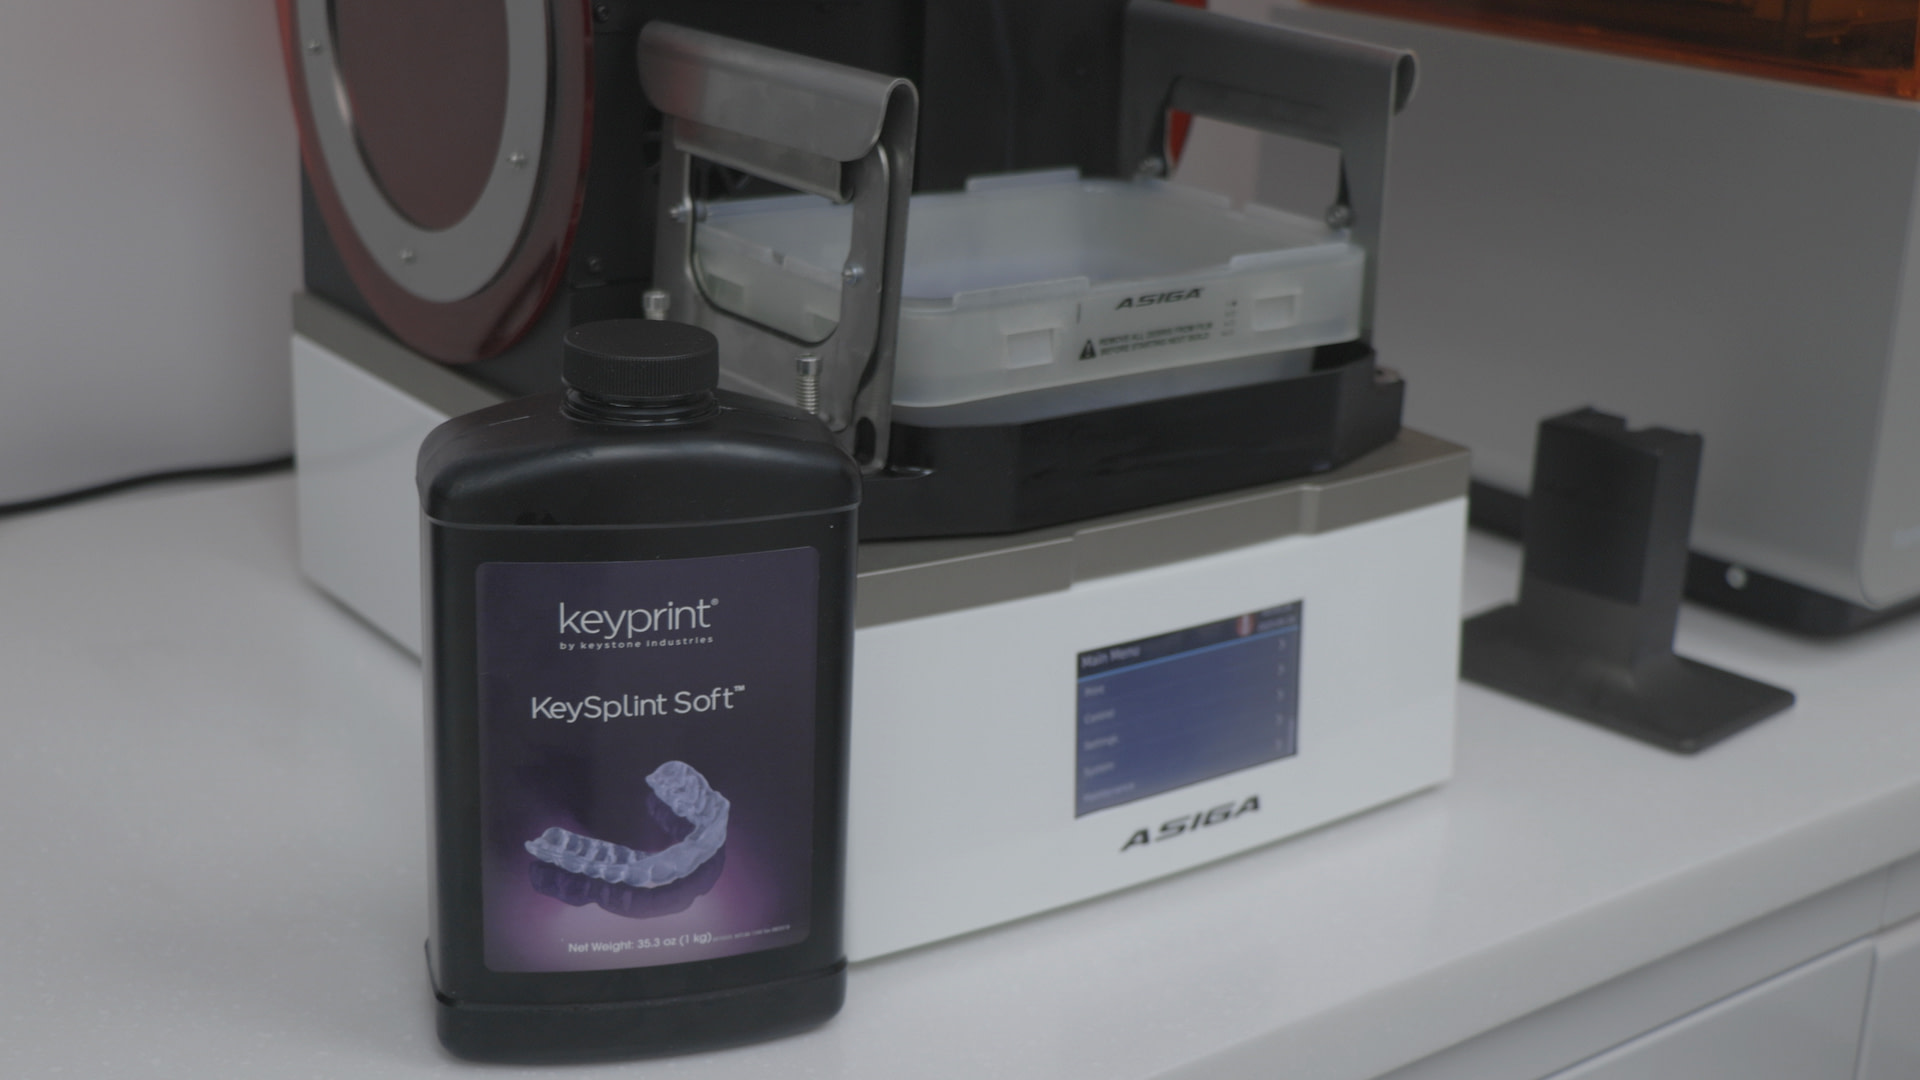
KeySplint Soft by Keystone Industries was used as the splint resin and was poured into the printer's designated tray.
Step 4: 3D Printing the Splint
With the setup complete, the 3D printing process can now be initiated.
The length of the printing process varies depending on multiple factors such as - the size of the print, the 3D printer itself, the brand of printer and the layer thickness.
The Asiga Max UV takes approximately three and a half hours to print an average-sized splint at 100 um.
It is important to monitor the progress of the print to intervene if any potential issues arise during the printing process.
Step 5: Post-Processing
Once printing is complete, carefully remove the splint from the build platformusing a spatula.

Splint is removed from the printer platform using a spatula.
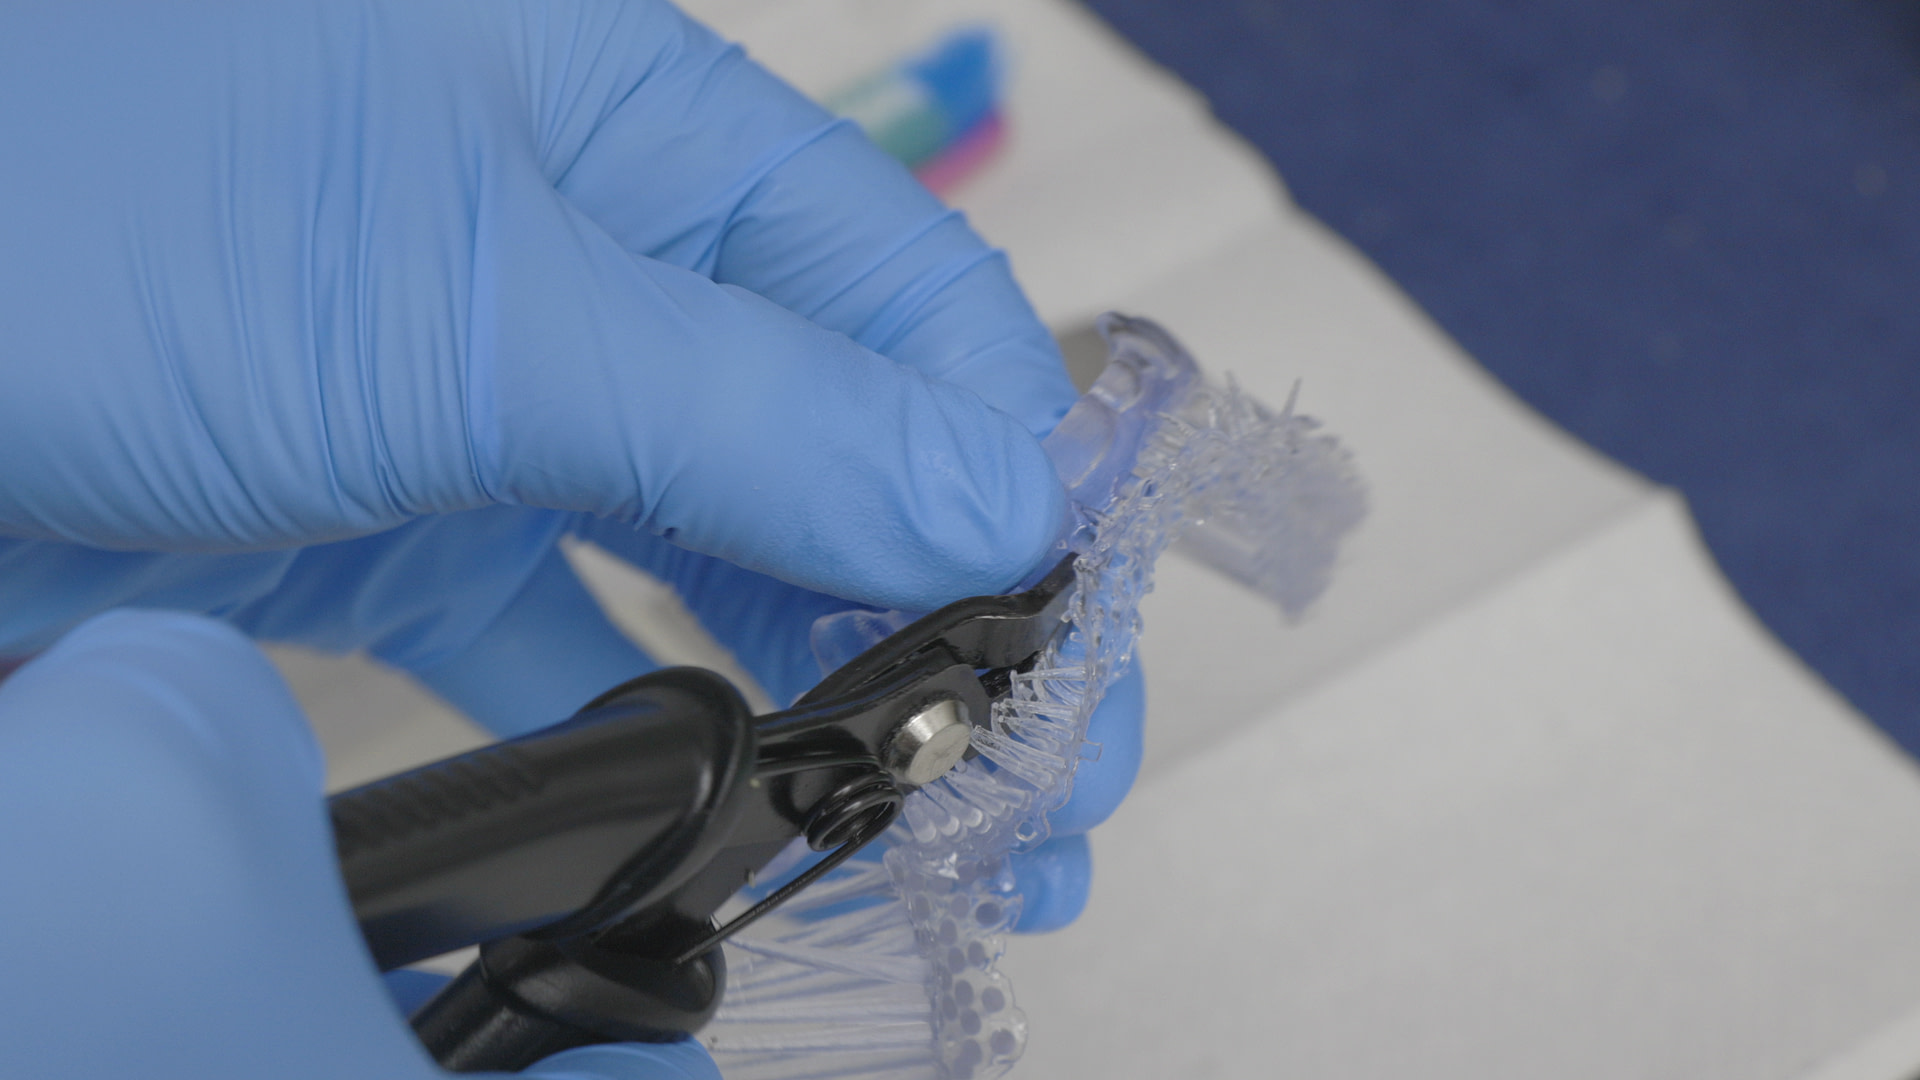
Use pliers to remove any sprues and connectors.
With this particular resin they easily break off by simply peeling them off.

Sprues and connectors are removed from the printed splint using pliers.
Place the printed splint into a clean isopropyl alcohol (IPA) solution and wash off any excess resin (dirty wash).
It is vital to perform a second IPA wash (clean wash) to ensure thorough cleaning.
Allow the splint to air dry before proceeding to the next step.
Step 6: Finishing
To achieve optimal strength and durability, cure the splint in a light cure box.

Curing the splint in ProCure 2 by SprintRay.
Additionally, inspect the surface for any irregularities and use silicone burrs and polishers to remove them.
The goal is to make the surface as smooth as possible, ensuring patient comfort and longevity of the splint.

Buffing, pumice, and polishing the splint.
Candy Coating Technique
Some practitioners may also use the "Candy Coating" technique, which involves adding an extra layer of the same resin to the surface and curing it for enhanced aesthetics. This technique makes the splint appear very shiny.
This is not mandatory. We will cover this entire technique step by step in another blog + video.

Application of the “Candy Coating” technique, involving an extra layer of resin being applied to the splint.

Final outcome of the splint after applying the “Candy Coating” technique.
By understanding the process, selecting appropriate materials, and ensuring proper setup and quality control, dental professionals can harness the many advantages of 3D printing technology.
If you are currently 3D printing splints and nightguards in your practice, we would love to hear about your experiences and insights in the comments below.
Attend our upcoming two-day lecture and hands-on workshop Master Scanning and 3D Printing in Your Clinic in Melbourne and Sydney, Australia this July and November.
If you can’t make it to our live courses, check out our 3D Printing and Design course bundle available online now with our Premium membership or as a one-off purchase discounted at 50% off.
