As well as being the director and co-founder of iDD, Dr Ahmad Al-Hassiny also works full-time as a dentist in Wellington.
So in addition to teaching and providing education on digital dentistry, Dr Ahmad implements these techniques for his own patients.
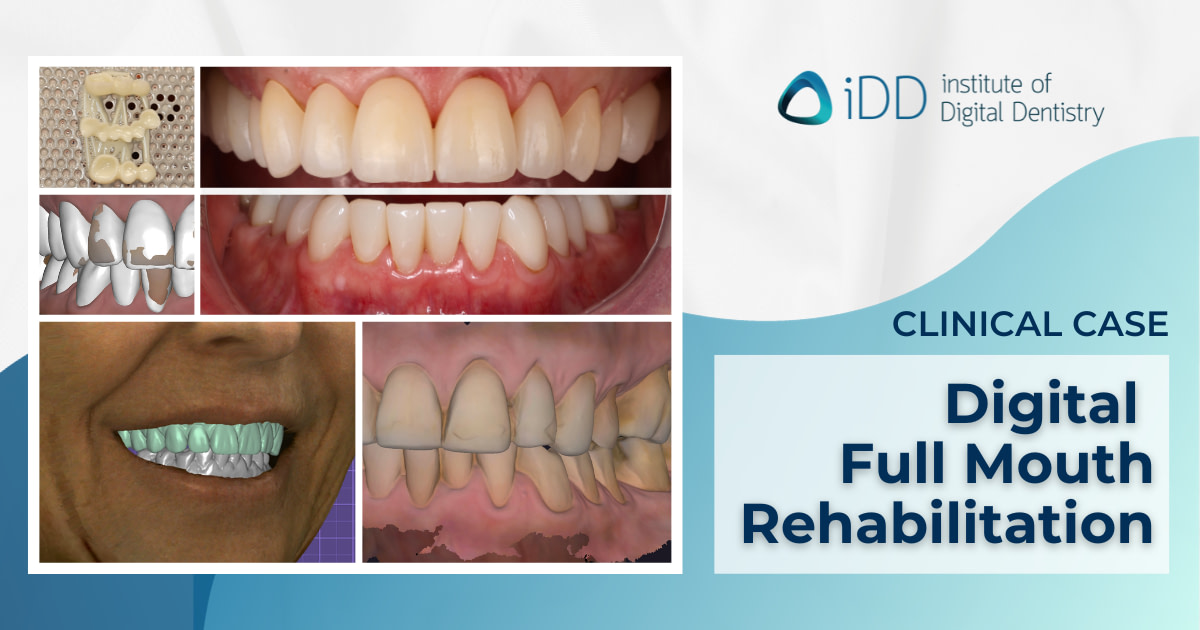
Here’s one of many clinical cases he’s completed, completely digital and done in-house utilizing 3D printing.
Full Mouth Rehabilitation Workflow
As with all these cases we start with intraoral scans using 3Shape TRIOS 5 intraoral scanner, diagnostic scans, and face scans using RayFace and MODJAW.

Intraoral scans using 3Shape TRIOS 5 intraoral scanner, face scans using RAYFace by Ray and smile design using exocad DentalCad software.
A complete digital wax-up and trial smile was then 3D printed and tested in the mouth. Digital smile design is a key in our practice to ensure we provide our patients with the best possible results.
After everything is confirmed, we start with the lower teeth first in FMR.

Patient's teeth before digital full mouth rehabilitation treatment.
Full Mouth Rehabilitation Workflow - Lower Arch
Why lowers? Well in the words of Dr Mike Brumm:
1) The length of the lower incisors is the prime determinant for the vertical dimension of occlusion which is altered in almost every full-mouth case
2) The position and shape of the lower incisal edges dictate esthetics, phonetics, and function
I have done multiple FMR cases and used to start with the upper arch first, but this was a lot better in my experience.
So we start with the preps. These are then scanned and then 3D printed temps are made.

Lower teeth before, prepped, scanned and final restorations designed in exocad.
One of my favorite uses of 3D printing is the temporization of these big cases.
Printing all these temps took 20 min and about 20-30 min processing time. Keep that in mind which is overlooked in all the hype of printing.
Once these were printed, they were then luted into place. The temps were splinted for ease of cementation and removal.
The printed temps stayed in the mouth for around 1 month to let everything heal (as we also did some laser gingivectomy to improve gum line positions).
The beauty of 3D printed temps is the tissue response! Far better than any direct method or bis-acryl/luxatemp. It made the final cementation process straightforward as the tissues were so healthy.

Zirconia discs were milled for the final restorations using Amann Girrbach and bonded into place.


I was very happy with the final result of the lower arch. We then moved to the upper arch.
Full Mouth Rehabilitation Workflow - Upper Arch
The upper arch consisted of a large number of composite build-ups and severe erosion of the palatal surfaces of the teeth.
Everything was deconstructed and rebuilt. The patient was also missing 25 so this required careful planning and CAD to ensure an aesthetic outcome.

Upper teeth before, prepped, scanned and final restorations designed in exocad.
All preps were guided by the functional wax-up which was designed in exocad and transferred to the mouth.
After preparing the teeth, 3D printed temps using NextDent were inserted which meant a perfect fit void of any overhangs.
Upon removing the temps when the final zirconia restorations were ready, the gingival tissue was very healthy. Facilitating easy bonding. My favorite use of 3D printing in dentistry.


The preps were scanned and the finals were designed by Marjorie Andrade, our resident CAD designer and dental technician at our iDD Lab.
It just shows how applicable and innovative utilizing digital technology is to make dentistry predictable and improve patient outcomes.
Patient's teeth before and after with the final milled restorations cemented in place.
And this was all possible due to our amazing team at iDD and iDD Lab.
Check out our 3D Printing and Design course bundle available online now with our Premium membership or as a one-off purchase discounted at 50% off.
Alternatively, learn how to design crowns and unlock the power of exocad by mastering more tips and tricks, click here.