
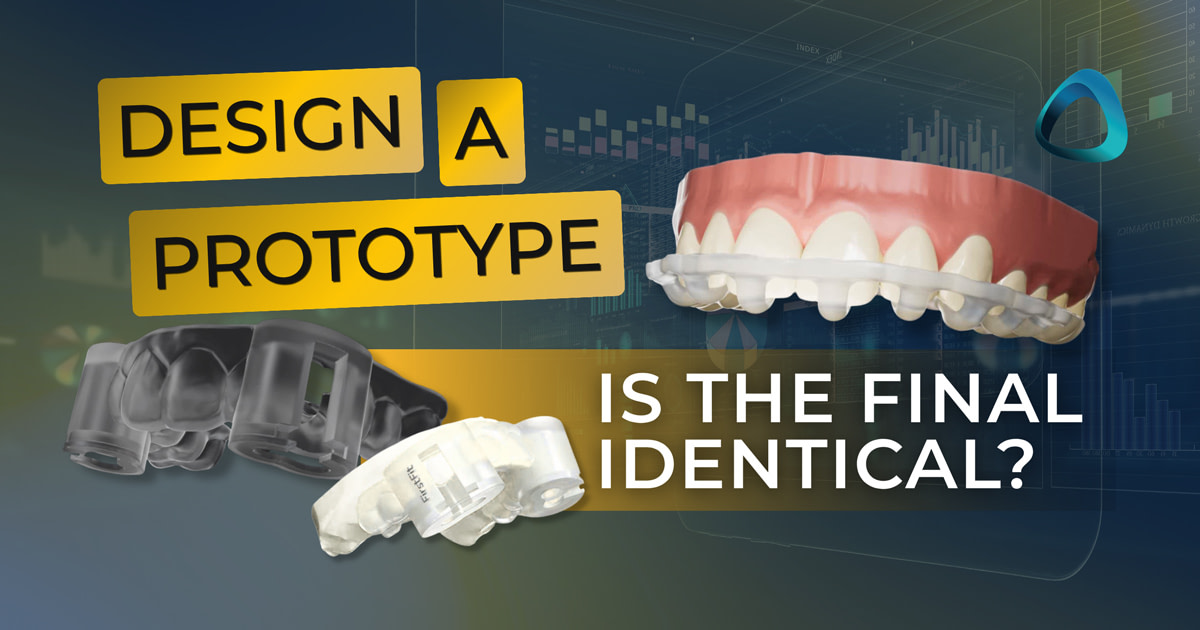

Every restorative dentist carries the same fear. Once the bur touches enamel, there is no undo button.
Guided tooth preparation is the answer, and it is the subject of two full chapters inside our Aesthetic Smile Design Excellence online course. It takes the one step in a case that used to run on nerve and freehand judgment, and turns it into a designed, guided, largely pre-decided sequence.
This post walks through Guided Tooth Preparation Techniques and the FirstFit System Deep Dive, what it actually changes clinically, and where it honestly does not belong.
The prep that keeps dentists awake
One of the biggest challenges I have experienced with aesthetic rehabilitation is preparing teeth as conservatively as possible while still delivering the result I have planned. Earlier in my career, I relied on traditional workflows using facebows, stick bites, wax-ups, and silicone preparation guides. They worked, but they often required more tooth reduction than I was comfortable with.
Looking back at some of those cases, I can still remember seeing preparations that were far more aggressive than they needed to be. In one case, the reduction was so deep that the pulp was visibly blushing through the dentine. It is the sort of preparation you never want to find in your own clinical photographs years later.
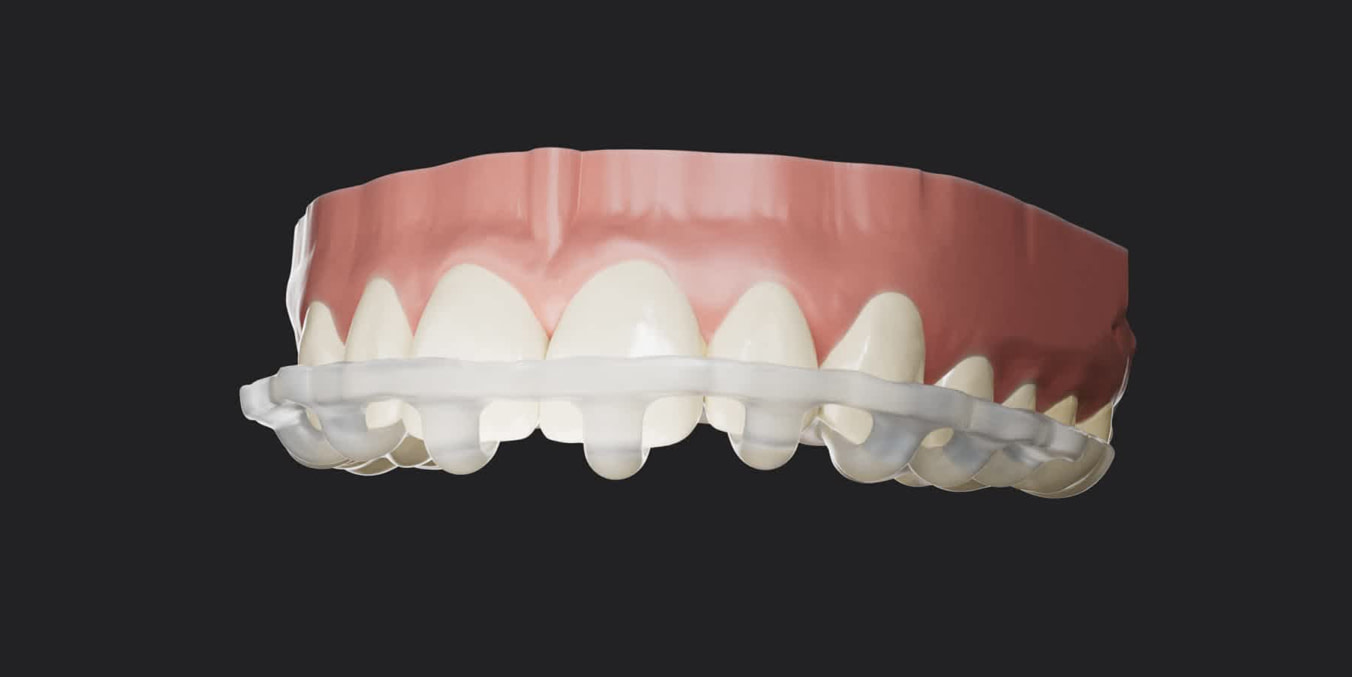
There was another recurring frustration. Patients would approve the prototype, but the definitive restorations never felt like an exact replica. They were close, but subtle differences in contour, texture, and shape inevitably crept in during the transfer from prototype to the final ceramic. More than once, I heard patients say they actually preferred the prototype. That is a difficult conversation for any cosmetic dentist.
That experience is why I see guided preparation as such a significant step forward. The goal is to reproduce the approved design as faithfully as possible, carrying the exact contours and surface anatomy from the digital plan to the prototype and finally to the definitive restoration. I often think of it as "copy-and-paste dentistry" - minimizing guesswork and ensuring that what the patient approves is ultimately what they receive.
What guided preparation actually changes
The real change is not the bur or the handpiece. It is where the clinical decision gets made.
In a traditional workflow, I am making preparation decisions chairside, tooth by tooth, under time pressure, based on what I can see and feel in that moment. With a guided workflow, those decisions have already been made. The preparation has been digitally designed, checked against the smile plan, and approved before I ever pick up a handpiece.
One principle I strongly believe in is that digital technology enhances good dentistry, it does not replace it. A digital workflow will not compensate for poor diagnosis, planning, or execution. What it does do is make it far easier to translate a well-thought-out treatment plan into a predictable clinical outcome.
Tooth preparation is still an irreversible step. That never changes. What changes is that I am no longer making those decisions on the fly. Instead, I am following a plan that has already been carefully designed, validated, and agreed upon, giving me far greater confidence that I am preserving as much tooth structure as possible while achieving the intended result.
How reduction guides and prep guides actually work
The process starts the same way every DSD case starts, with good photographs and an intraoral scan. From there, a planning center or lab technician overlays a set of reference lines onto the scan: the center line, the smile curve, the gingival curve, the tooth-width guide, the papilla curve, and the intercanine width.
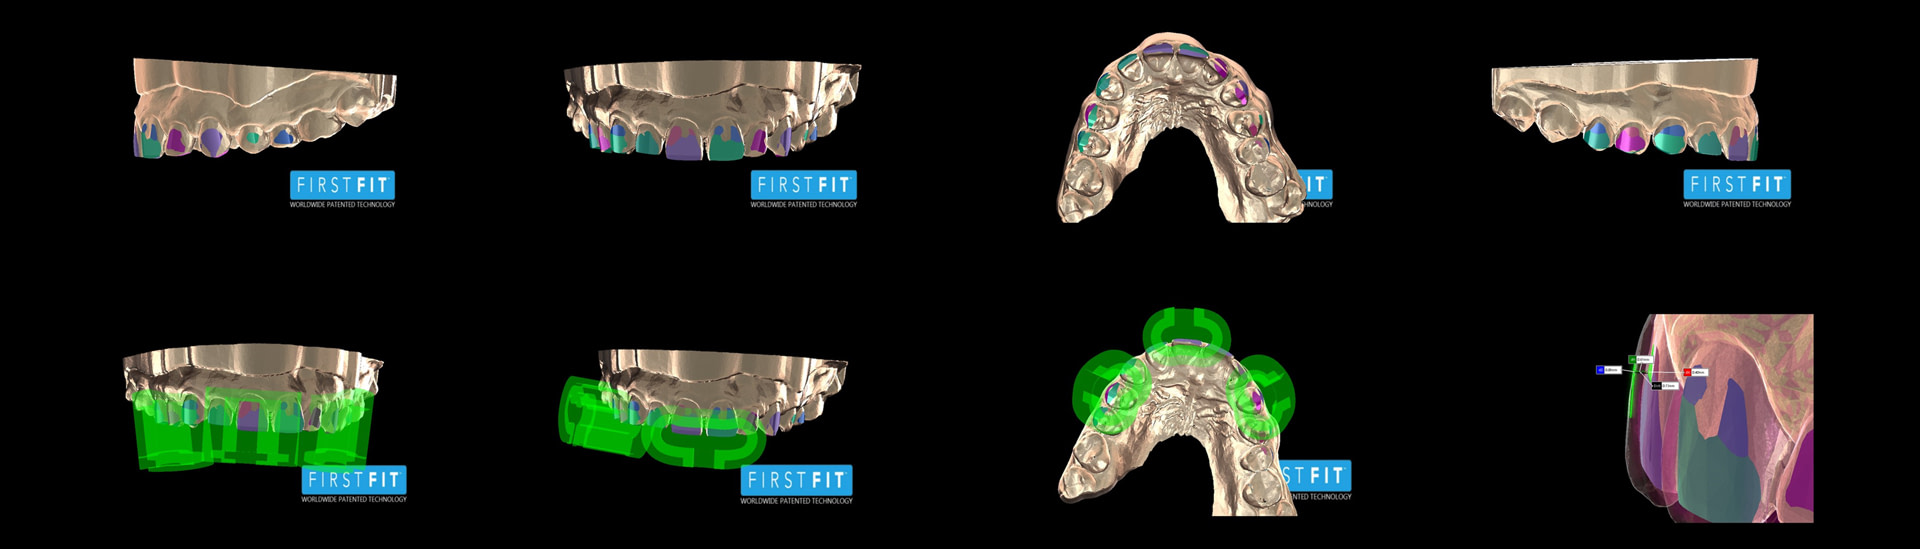
Those lines produce a digital wax-up, and the wax-up gets checked against the existing teeth from every angle, including occlusally. Where the planned restoration would sit thicker than the current tooth, the software flags it, typically shown in pink on the model, marking exactly where pre-reduction needs to happen before the main reduction.
That flagged geometry is what becomes the physical guide. Earlier generations of this idea used a silicone index taken from a wax-up, an approach Jameel still credits but is candid about. Silicone is flexible, so pressing harder on one side can distort the read on the other, and the index never lets you see the whole prepared surface at once.
The modern version replaces that flexible silicone with a rigid, 3D-printed guide built directly from the approved digital design. What used to be interpreted by hand is now dictated by the plan.
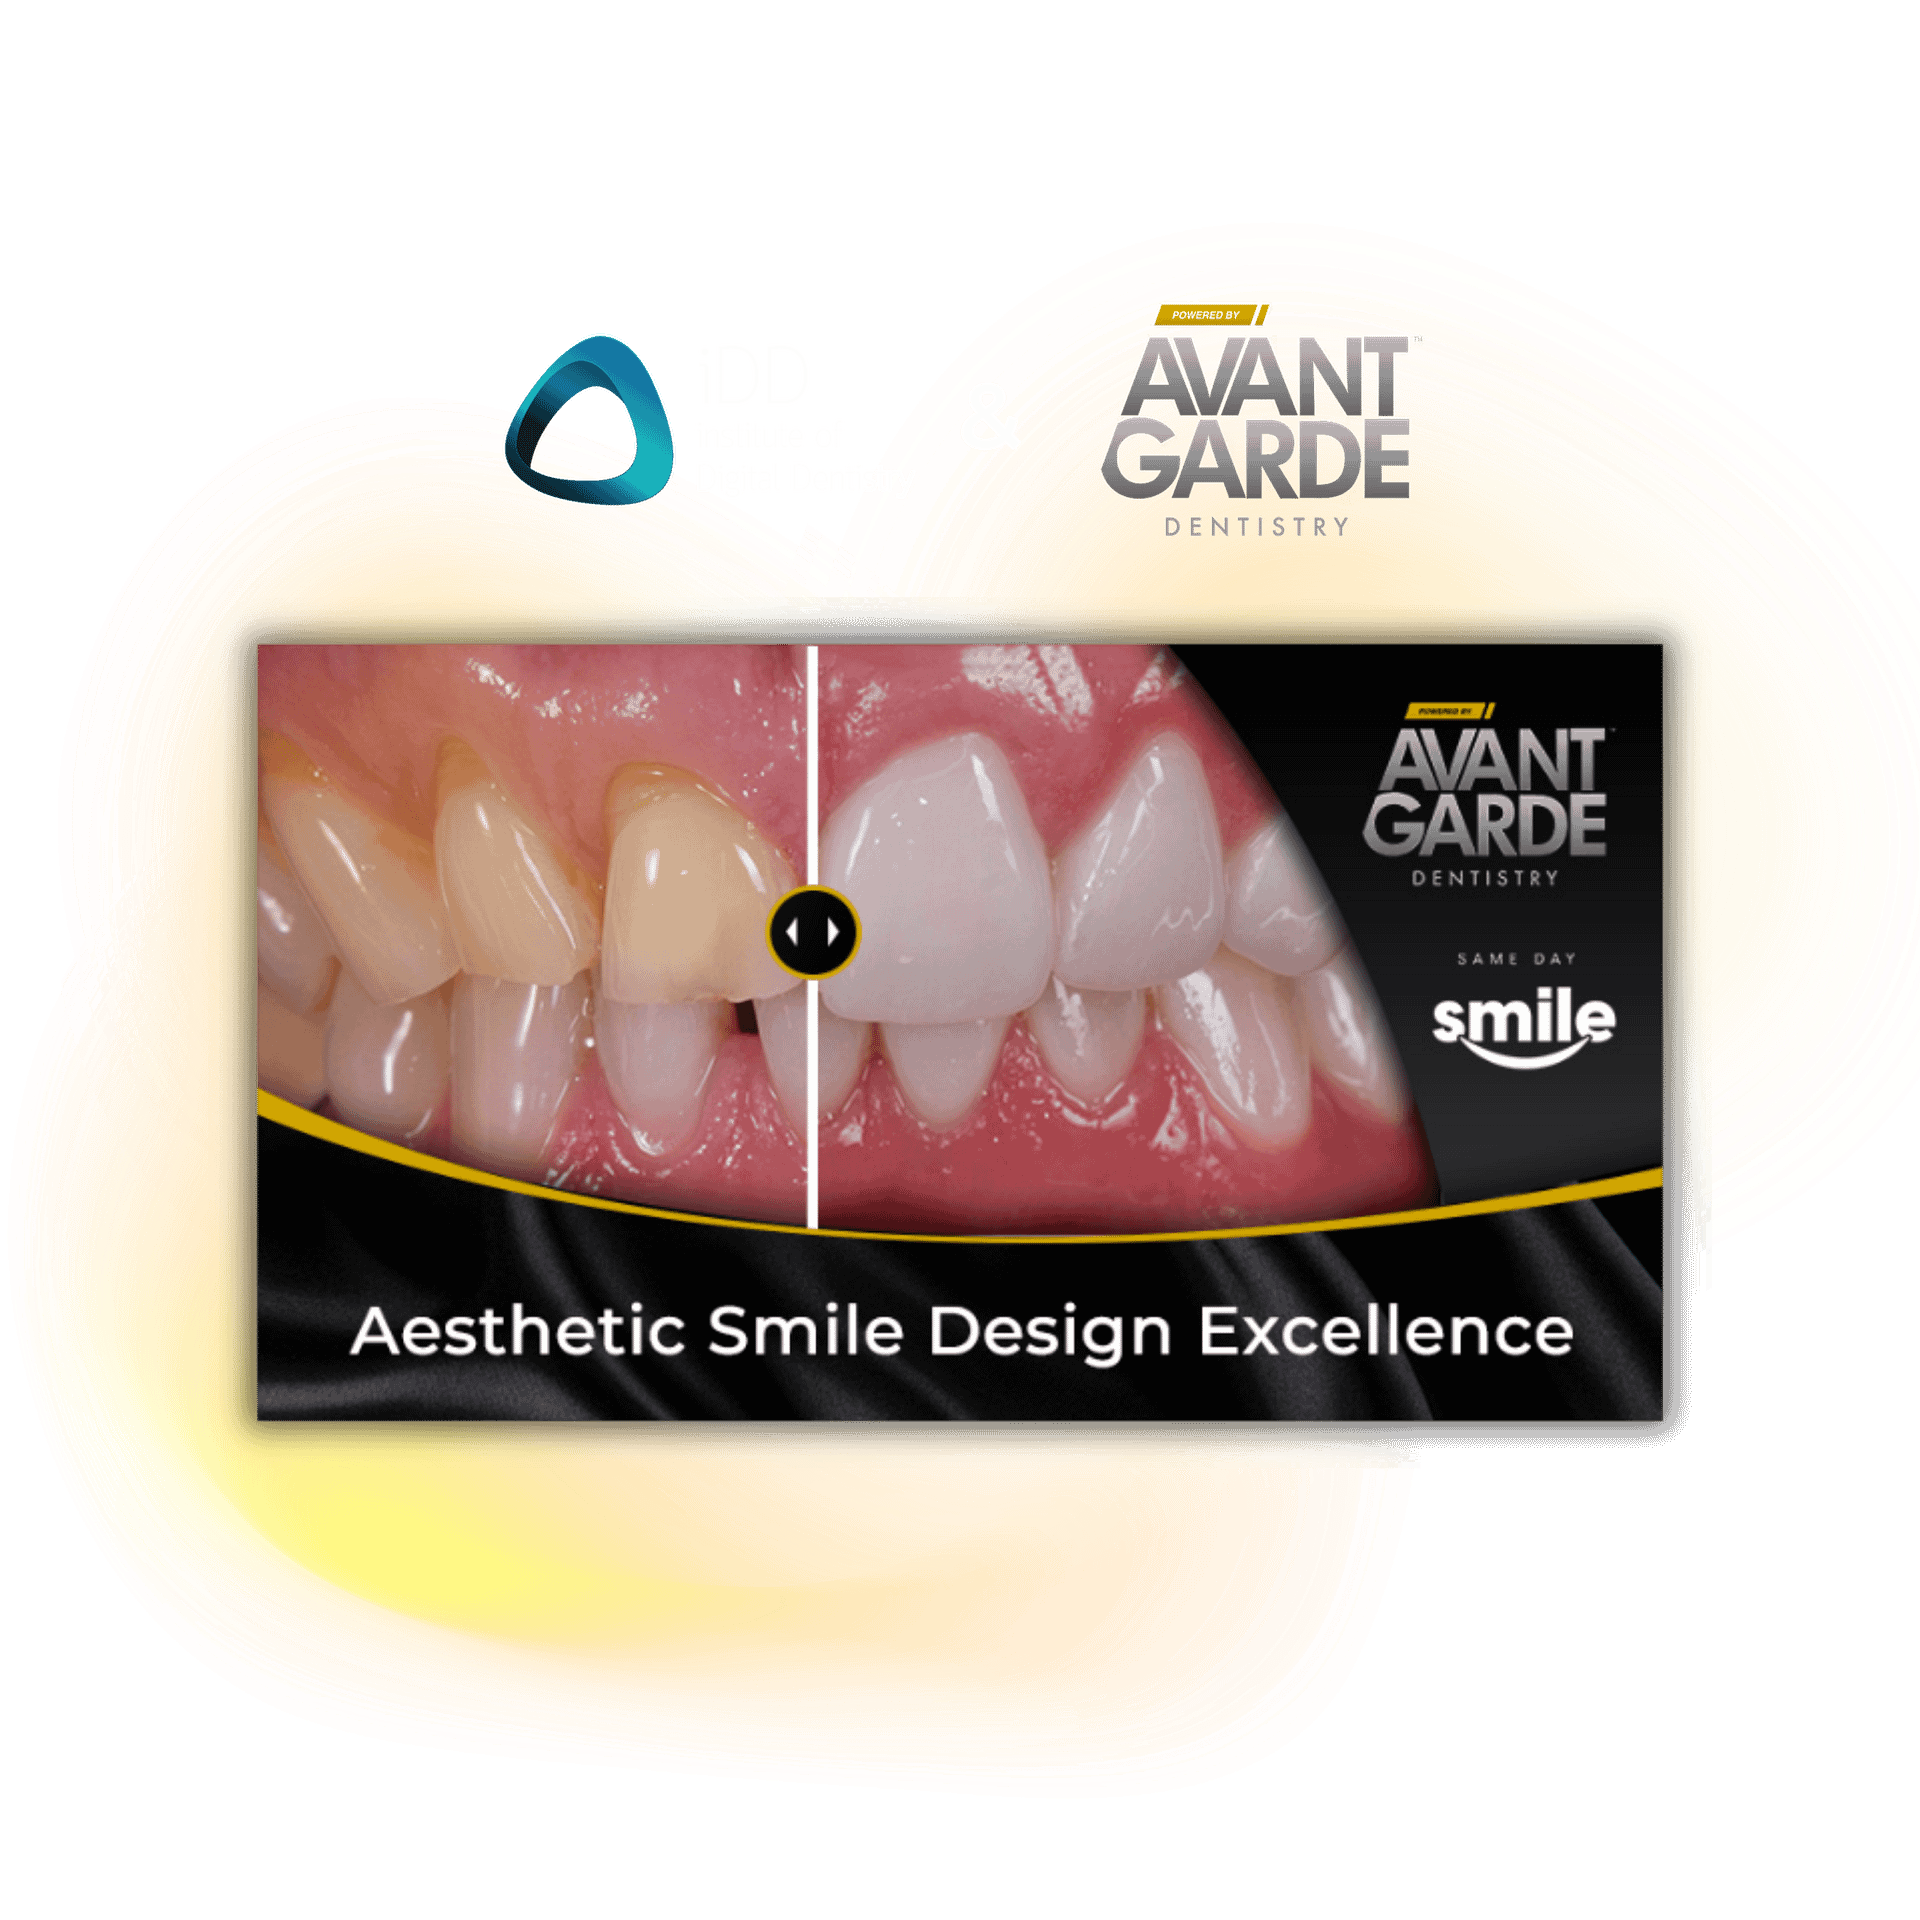
Get the most out of your Intraoral Scanner
You already own the scanner.
Now you want the full workflow, the guided system that turns it into predictable, name-on-it smile cases.
FirstFit: A Fourth Generation of Veneer Preparation
I see veneer preparation as having evolved through several distinct generations. The first was traditional freehand preparation using calibrated burs, followed by silicone index techniques based on a diagnostic wax-up. More recently, aesthetic pre-evaluative temporaries (APT) have allowed clinicians to prepare through a patient-approved prototype. Each step has improved predictability, but I believe digital guided preparation represents the next major leap.
One system that has particularly impressed me is FirstFit. Introduced to me in 2018, it has fundamentally changed how I think about veneer preparation. Rather than relying solely on clinical judgment during the preparation itself, the workflow shifts the precision into the planning stage.
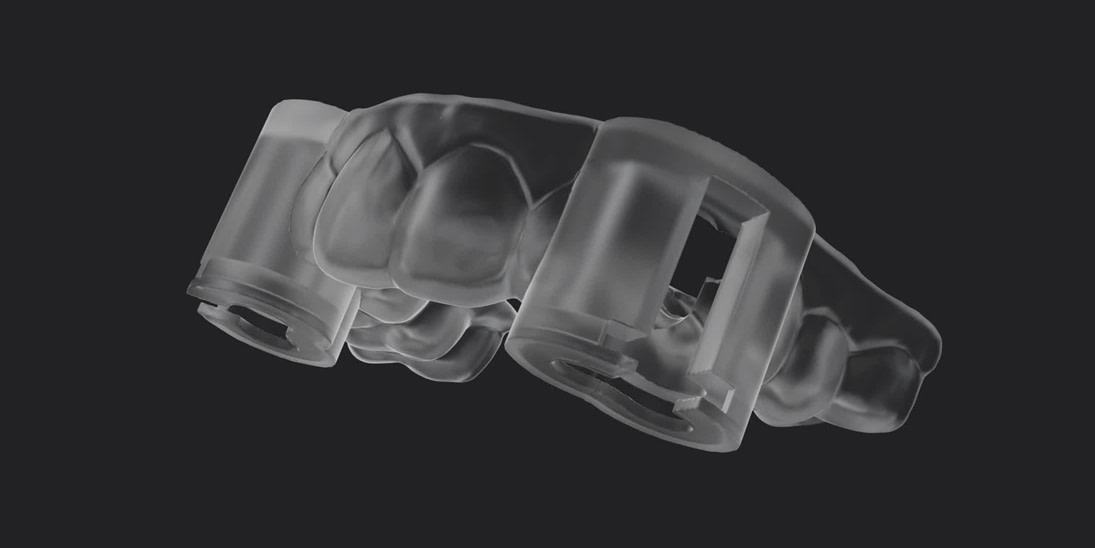
Mechanically, the concept is elegant. A dedicated handpiece is guided through a 3D-printed preparation guide using a key-and-lock mechanism. Instead of relying entirely on hand control, the guide physically constrains the bur's depth and direction, allowing the preparation to follow the approved digital design with remarkable accuracy.
Each case includes patient-specific guides along with dedicated preparation and finishing burs. The workflow is designed to create extremely conservative, feather-edge margins that typically finish at or just above the gingival margin rather than extending subgingivally. While feather-edge margins remain a topic of discussion, the available long-term evidence is reassuring, with published studies demonstrating excellent survival rates over many years when executed correctly.
One of the most exciting aspects of this workflow is its efficiency. Because the definitive restorations can be fabricated directly from the approved digital preparation before treatment begins, it becomes possible to complete both the preparation and veneer delivery in a single appointment. Using a positioning tray to seat multiple veneers simultaneously further improves precision while significantly reducing chair time.
What a Same-Day FirstFit Case Taught Me
One clinical example particularly reinforced the value of this approach. The patient initially wanted straighter, whiter teeth but was adamant that they did not want orthodontic treatment.
Once the proposed smile was digitally designed, I was able to demonstrate exactly how bulky the restorations would need to become if we proceeded without correcting the tooth position first. Seeing the design immediately changed the conversation. Rather than trying to persuade the patient verbally, the digital simulation allowed them to understand the compromise for themselves, and they ultimately chose to undergo clear aligner treatment before proceeding with veneers.
For me, that highlights one of the greatest strengths of digital smile design. It is not simply a planning tool for the clinician—it is one of the most powerful communication tools we have. When patients can clearly visualize the consequences of different treatment options, they are far more likely to make informed decisions that lead to better long-term outcomes.
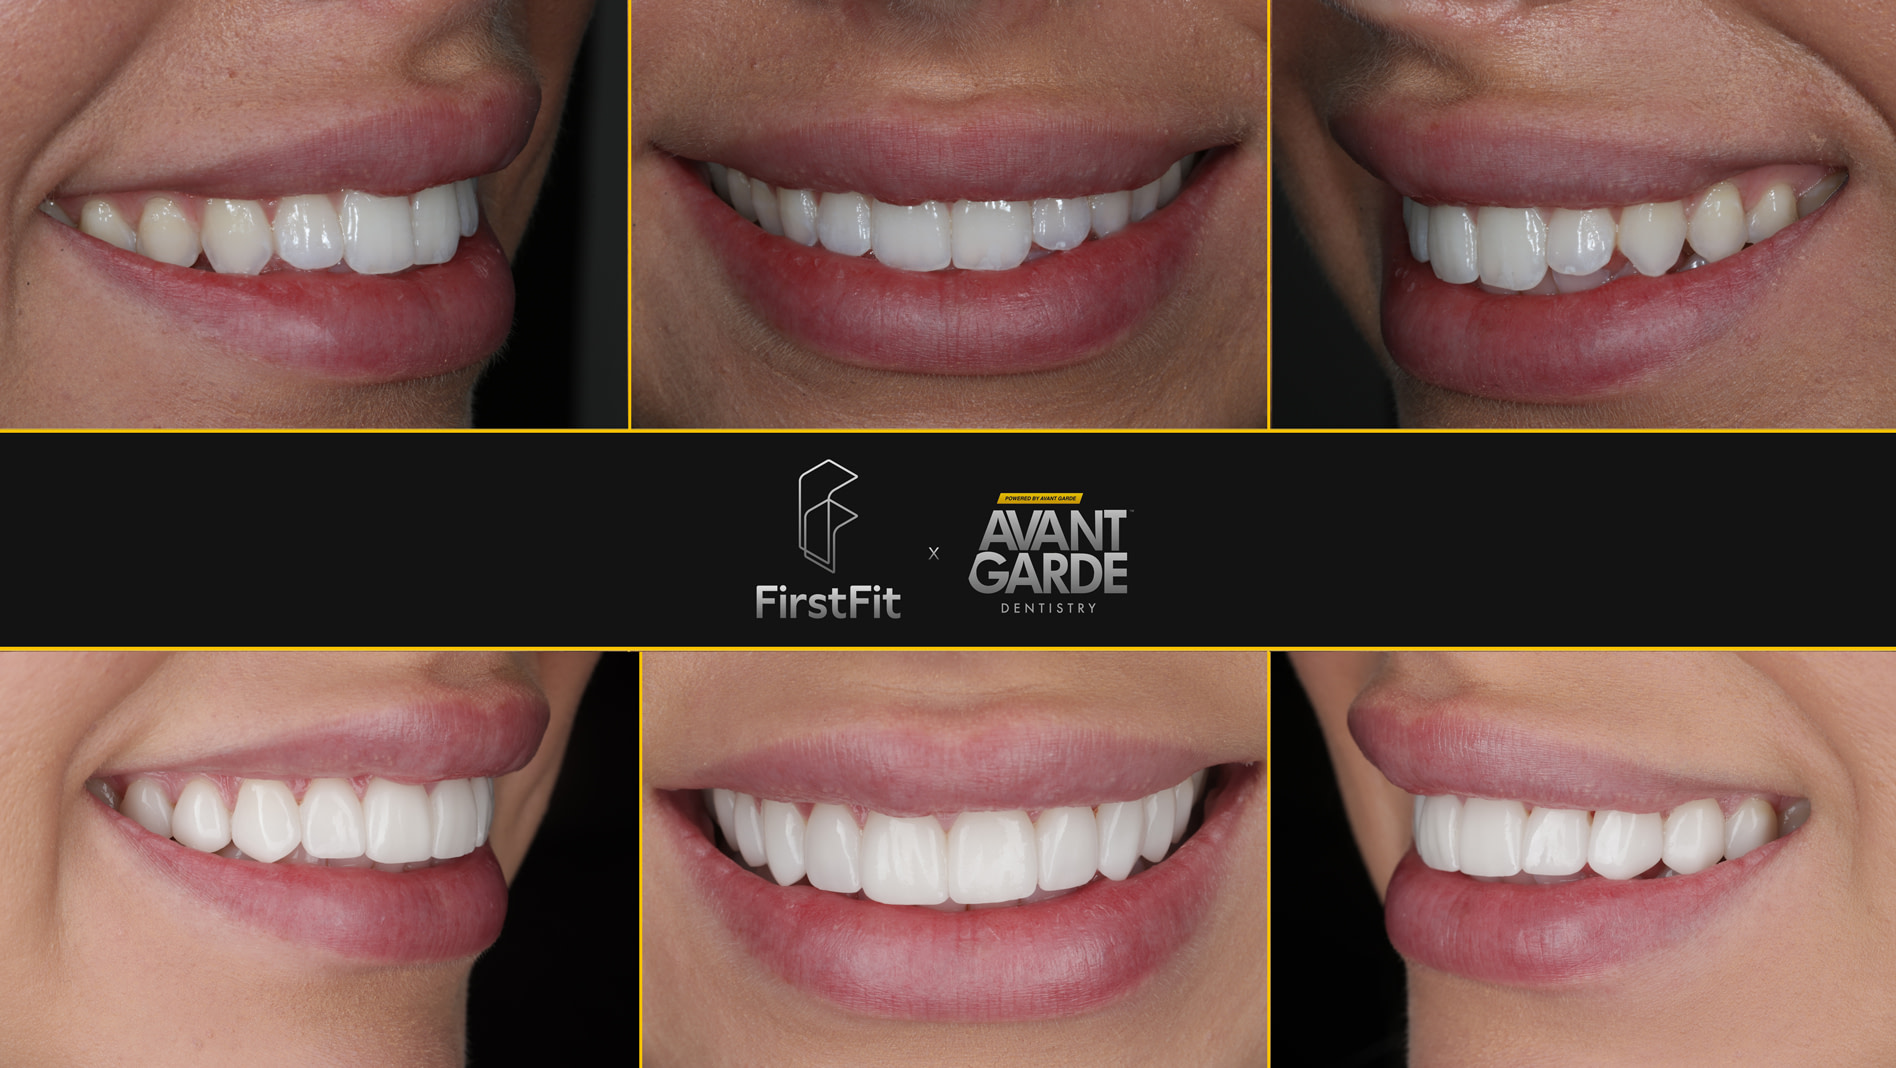
Once orthodontic treatment is complete, I always begin by redesigning the smile. Tooth movement changes the entire restorative plan, so a new digital design is essential before moving forward. If crown lengthening is required, I prefer minimally invasive techniques that allow restorative treatment to proceed within days rather than waiting weeks for healing.
Only once the smile design is finalized do I move into the guided restorative workflow. The preparation guides and definitive veneers are fabricated together from the approved digital plan. On the day of treatment, each guide is checked for passive fit before any preparation begins. A small amount of glycerin helps the handpiece engage the guide smoothly, after which the preparation follows the predetermined path with very little deviation.
Once the preparations are complete, the definitive veneers can be delivered immediately. Using a positioning tray allows the restorations to seat together accurately before bonding, creating an efficient workflow that can often eliminate the need for provisional restorations altogether.
The difference in treatment time compared with a conventional veneer workflow is significant. Traditionally, a patient undergoes records, a lengthy preparation and temporization appointment, waits one to three weeks for laboratory fabrication, and then returns for a second restorative visit. With a fully guided workflow, preparation and definitive cementation can often be completed in a single appointment, reducing both chair time and the overall treatment timeline.
Beyond efficiency, removing temporaries eliminates many of the problems every restorative dentist has experienced—postoperative sensitivity, staining, fractured provisionals, emergency recementations, and the uncertainty that comes with waiting between appointments.
Where Guided Preparation Does Not Belong
As exciting as guided preparation is, I do not see it as a universal solution. Appropriate case selection remains critical.
Existing composite restorations or old veneers often need to be removed before digital planning can begin, as accurately distinguishing restorative material from natural tooth structure is essential. Cases involving large diastemas or significant black triangles also require careful consideration, since achieving ideal emergence profiles frequently demands subgingival margin placement, which is not the goal of conservative guided feather-edge preparations.
Similarly, severe crowding or markedly proclined teeth are generally poor candidates. In many of these situations, guides cannot seat predictably, and the variation in required tooth reduction makes a standardised guided workflow impractical. Orthodontic alignment is often the more appropriate first step before considering restorative treatment.
Bruxism is not necessarily a contraindication, but it requires meticulous occlusal planning and careful long-term management.
Patient selection extends well beyond tooth position. I also evaluate the patient's medical history, periodontal health, remaining tooth structure, aesthetic expectations and willingness to participate fully in a comprehensive digital workflow. Guided preparation is ultimately a planning philosophy as much as it is a technique, and successful outcomes depend just as much on diagnosis and treatment planning as they do on the guide itself.
One analogy I particularly like compares digital planning to an aircraft's autopilot. The technology performs much of the routine work with exceptional precision, but the clinician remains firmly in command. The most important decisions are still made by the dentist, especially when treatment becomes complex or unexpected challenges arise.
Looking Ahead
Guided preparation represents one of the most significant advances I have seen in aesthetic restorative dentistry. It shifts precision from the moment of preparation to the planning stage, allowing restorative treatment to become more conservative, more predictable and more reproducible.
It does not replace sound clinical judgment, nor does it eliminate the need for experience. What it does offer is a workflow that enables carefully designed treatment plans to be executed with far greater consistency than traditional freehand techniques.
Ultimately, the most irreversible step in veneer dentistry is tooth preparation. The more confidently that step can be planned before the bur ever touches enamel, the more predictable the final outcome becomes - for both the clinician and the patient.
Dr Robbie Hughes is the founder of Avant Garde Dentistry and creator of the Same Day Smile system, and leads the faculty behind the Aesthetic Smile Design Excellence course.