In recent years, dentistry has undergone a remarkable transformation, largely driven by the rapid advancement of digital technologies.
From intraoral scanning and 3D imaging to computer-aided design and manufacturing (CAD/CAM), these innovations have revolutionized how dental professionals diagnose, plan, and execute treatments.
Among these groundbreaking technologies, 3Shape has emerged as one of the most useful parts in our practice.
Their scanners are excellent for implant cases, and the Unite software is a powerful tool for streamlining dental workflows, particularly in implantology.
This case study aims to showcase the huge impact digital dentistry can have on your workflows.
This article is not sponsored in any way by 3Shape.
I wanted to demonstrate how we use 3Shape Unite software to plan and complete dental implant treatment.

About the Author
Dr Byron Park
Dr Byron Park is a general dentist combining 10 years of experience in general dentistry and a passion for digital dentistry. He works as a dentist and educator with the iDD team in Wellington, New Zealand. Byron has particular interests in the latest digital dentistry tools such as dynamic navigated dental implant surgery, jaw motion capture and artificial intelligence in diagnosis of dental radiographs.
Patient Background
The patient, a male in his 60s, presented with multiple dental issues, including missing and cracked teeth and a bony defect in the area of a previously extracted tooth.
Over the years, the patient had experienced multiple cracked teeth, which had led to various complications and treatments. In 2021, the patient reported hearing a loud crack while eating, after which tooth 24 became tender to biting pressure.
Upon examination by his previous dentist, a vertical root fracture was diagnosed, necessitating a surgical extraction. The procedure, which involved removing the buccal cortical bone, left the patient with a bony defect in the area of the extracted tooth.
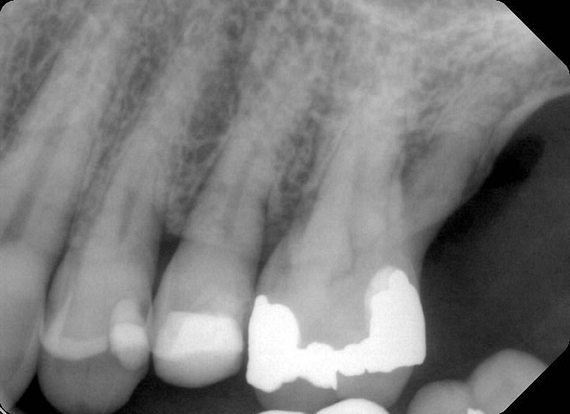
His previous dentist retired, and the patient visited me for the first time as an emergency visit due to symptomatic irreversible pulpitis from a cracked tooth (46). Root canal treatment on tooth 46 was completed, and a crown placed.


Upon completing a comprehensive examination, it was revealed that teeth 25 and 26 were also cracked, and the patient expressed interest in replacing the missing tooth 24.
To better understand the patient's overall dental health, a full mouth CBCT scan was taken, confirming the presence of a bony defect in the area where tooth 24 had been surgically extracted.

Treatment Planning
Following the patient's initial consultation and the discovery of additional dental issues, I conducted a thorough full mouth examination. The findings of this examination, combined with the CBCT scan results, provided a comprehensive picture of the patient's oral health status and allowed for the developing a personalized treatment plan.
The treatment plan consisted of crowning teeth 25 and 26, replacing missing tooth 24 with a dental implant, and placing a bone graft to replace lost bone tissue and provide a stable foundation for the implant.


The Digital Implant Workflow
3Shape Unite is a powerful digital platform that integrates a wide range of diagnostic and treatment planning tools, allowing dentists to create highly detailed, patient-specific virtual models of the oral cavity.
By combining data from 3shape TRIOS intraoral scans, CBCT imaging, and other diagnostic sources, TRIOS enables practitioners to visualize and create treatment plans in a fully digital environment.
Intraoral scans were completed using the Trios 4 intraoral scanner and a H8 x D 15cm craniofacial field CBCT was taken.


Surgical Phase
The surgical phase of the implant treatment is a critical step in ensuring the success and longevity of the final restoration.
I utilized 3Shape Implant Studio, a module within the 3shape Unite Platform, to plan and execute the surgical procedure.
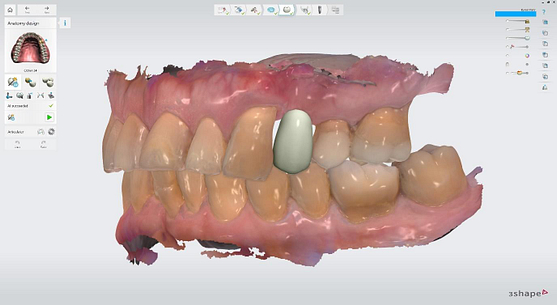
Pre-surgical planning began with acquiring high-quality diagnostic data, including TRIOS intraoral scans and CBCT imaging. The data was imported into 3Shape Implant Studio, where I designed a virtual crown for tooth 24 and planned the precise positioning of the implant, considering critical factors such as sinus proximity, adjacent roots, bone density, and the location of the bony defect.
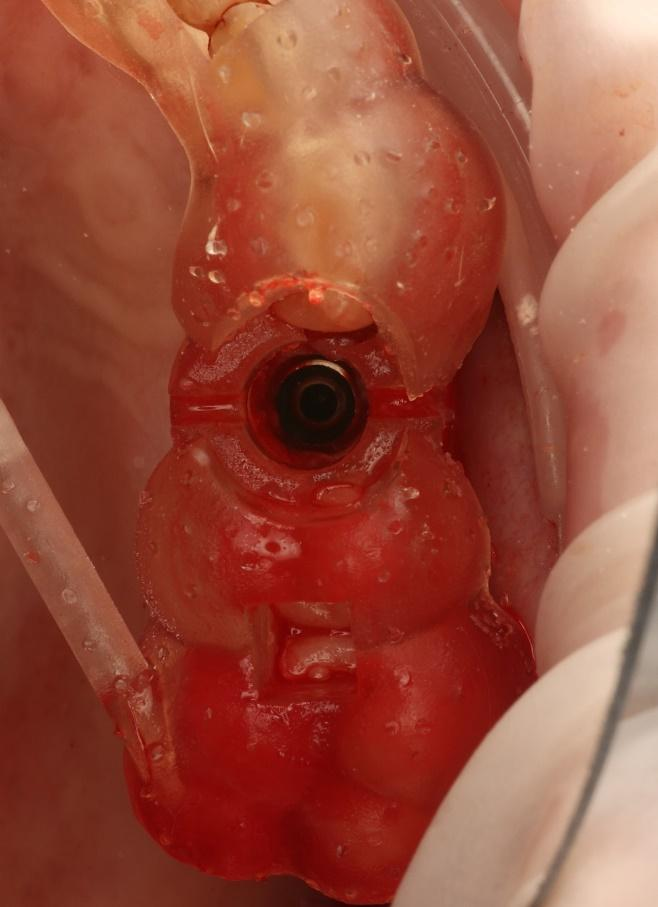
A custom surgical guide was designed and 3D printed, incorporating all the critical information from the virtual planning. The implant surgery was performed under local anesthesia, with the surgical guide firmly in place to ensure accurate implant placement. Bone grafting was performed to address the bony defect and promote optimal healing.



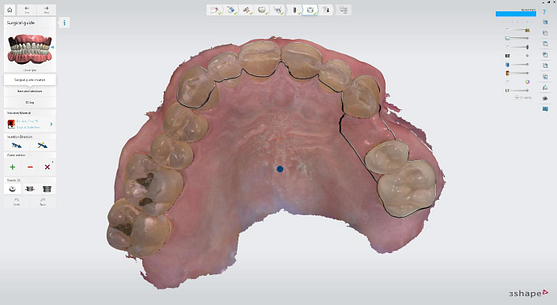
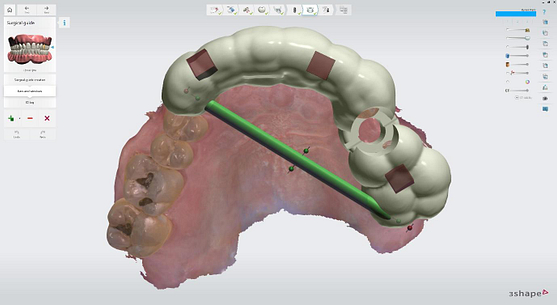
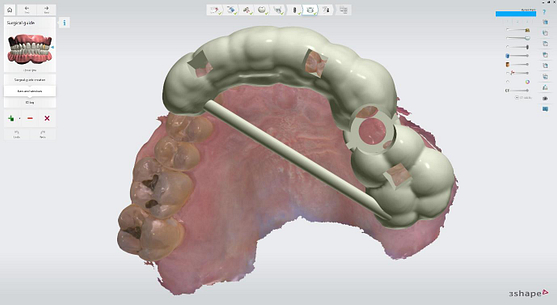


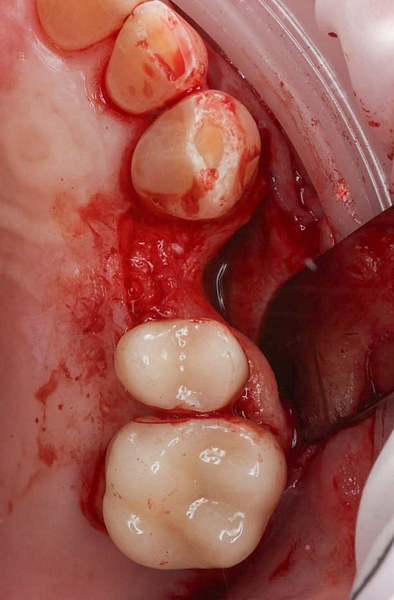

The Osstem OneGuide kit is used with a fully guided osteotomy and implant placement.

Osstem TSIII D4 x H10mm implant on NoMount driver.



Restorative Phase
Following the successful surgical placement of the implant, the focus shifted to the restorative phase of the treatment.
Three months after the implant surgery, a thorough post-operative assessment revealed excellent healing and implant stability.
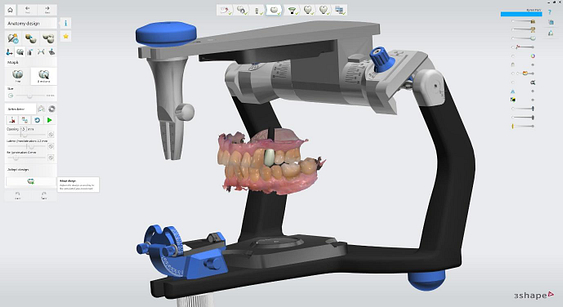
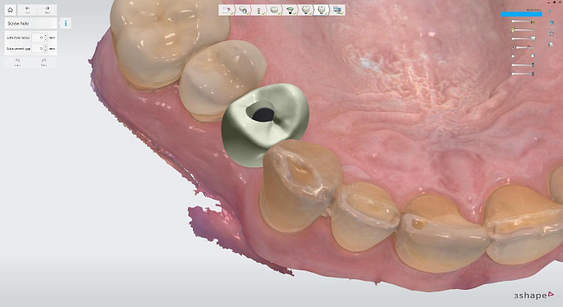
Digital impressions were captured using the TRIOS 4 intraoral scanner, and the implant-supported crown was designed using 3Shape Design Studio.
The crown was milled from a high-strength, multilayered zirconia and hand-finished to achieve a lifelike appearance.
At the final appointment, the crown was securely attached to the implant, resulting in a beautiful, natural-looking restoration.


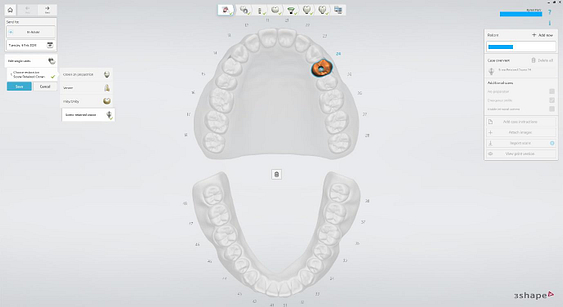
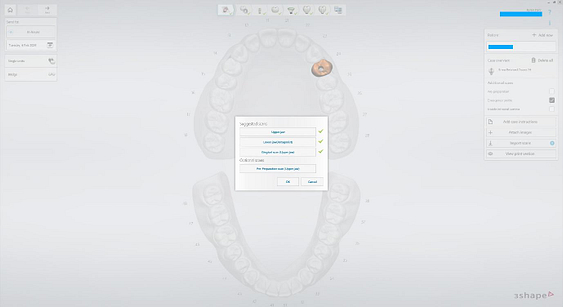
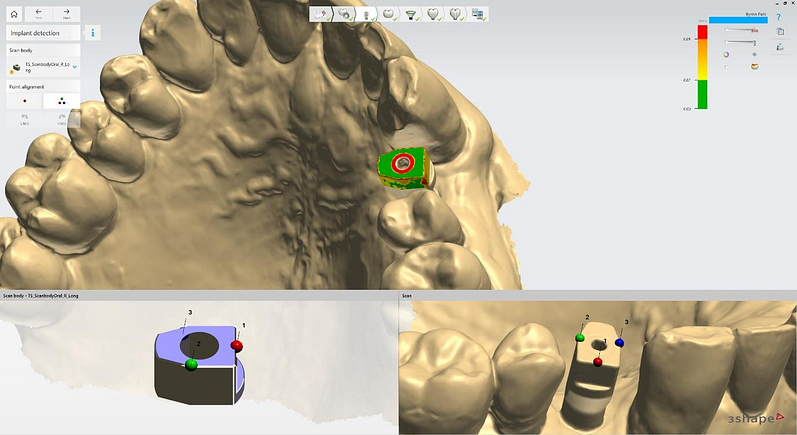
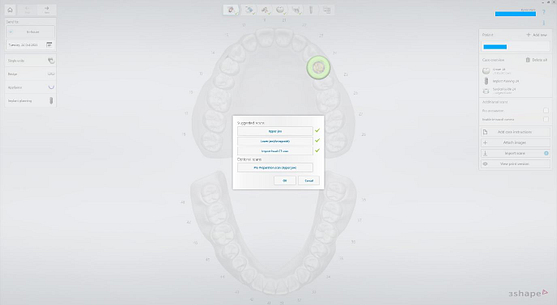
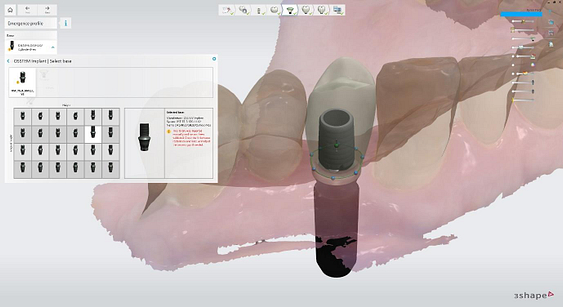
Implant detection matches the scan body in the intraoral scan with the digital library. A colour scale is given to show the accuracy of the matching (Green is good).





Treatment Outcomes
The successful completion of the implant treatment was evaluated based on aesthetics, function, and patient satisfaction.
The implant-supported crown seamlessly integrated with the patient's natural dentition, and the patient reported excellent comfort and function.
A radiographic assessment confirmed the proper integration and positioning of the implant.
The successful treatment outcome can be attributed to digital dentistry: planning, precise execution, and patient-centered approach facilitated by the digital workflow.
By leveraging advanced technologies like 3Shape TRIOS, Implant Studio, and TRIOS Design Studio, I delivered a high-quality, customized implant-supported restoration that met the patient's functional, aesthetic, and emotional needs.
Discussion and Conclusion
The case study highlights the numerous advantages of the digital workflow in implant dentistry, particularly when compared to traditional analog methods.
Integrating advanced technologies, such as 3Shape TRIOS and TRIOS Design Studio, has revolutionized how dental professionals plan, execute, and deliver implant treatments, offering unparalleled accuracy, precision, and efficiency.
The digital workflow streamlines the entire implant treatment process, reducing the time and effort required for each stage.
Digital technologies automate and standardize many processes, reducing the potential for human error and ensuring consistent, high-quality results. Moreover, the improved communication and collaboration enabled by digital files promote better coordination, faster decision-making, and a more cohesive treatment approach.
This case study demonstrates the remarkable potential of digital dentistry in revolutionizing implant treatment. By leveraging the power of 3Shape software and the digital workflow, I successfully planned and executed a complex implant case, achieving exceptional results in aesthetics, function, and patient satisfaction.
The successful outcome of this case underscores the future implications of digital dentistry in transforming the field of implant treatment. As digital technologies evolve and become more widely adopted, dental professionals will be empowered to deliver increasingly predictable, efficient, and patient-centered care.
As the dental profession continues to embrace the digital revolution, practitioners must stay informed about the latest advancements and best practices in digital dentistry. This case study serves as an invitation for readers to explore the world of digital implant dentistry and actively seek opportunities to integrate digital technologies into their own practices.
In summary, this case study demonstrates the transformative power of digital dentistry in implant treatment, highlighting the benefits of accuracy, precision, efficiency, and patient-centered care.
As the dental profession continues to evolve, the adoption of digital workflows will become increasingly critical for delivering optimal treatment outcomes and improving the lives of patients worldwide.

