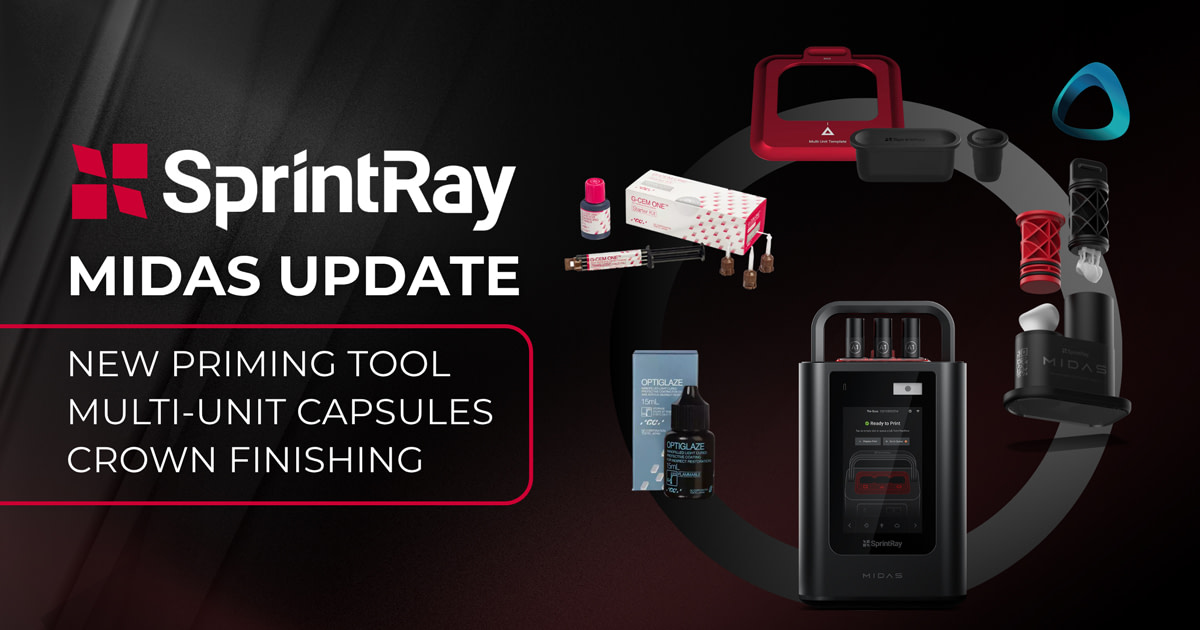
Over the past few months, SprintRay has released a new priming tool for Midas capsules, brought its multi-unit capsules to market, and started sharing technique guides for cementing and finishing printed crowns. Here is a rundown of what is new and what it means for those of you printing restorations chairside.
The new Midas priming tool


Priming a Midas capsule has always been a slightly annoying manual step. You break the seal, mix the resin, and get the capsule ready to print. SprintRay's new priming tool is designed to make that a bit easier for both single-unit and multi-unit capsules.
Pretty self-explanatory - use the new tool to mix the resin (alternating the plungers a number of times) before removing the clip and the UV film.
Multi-unit capsules have arrived


This is the bigger news. SprintRay's Midas multi-unit capsules are now available, after being previewed at the Chicago Midwinter conference earlier this year. The multi-unit format has more than three times the build area of the single-unit capsule (59 x 18 mm), which lets you print several restorations or larger appliances in a single job.
Publicly, SprintRay has confirmed the multi-unit capsules for three materials: OnX Tough 2, Digital Temp, and Crown HT.
A couple of the workflows worth calling out:
- Digital Temp opens up multi-unit temporaries, think temporary bridges and trial smile mock-ups printed in one go.
- OnX Tough 2, one of SprintRay's most widely used specialty resins, can now be printed in multi-unit format for larger indications.
Pricing varies by reseller and region, but as a rough guide, I have seen Digital Temp multi-unit three-packs listed around $177 USD at US resellers. Confirm current pricing locally before you budget, as it can change.
My take, and to be upfront, Multi-unit is a cool idea for anyone doing multi-unit work, veneer cases especially. But I suspect it stays fairly niche for now. For the mass market, single capsules will likely remain the everyday format. It is a capability you will be glad to have when the case calls for it, rather than something you will reach for daily.

Want more of the latest in dentistry?
Join the RAPID community
and get insights straight to your inbox.
Cementing printed crowns with G-CEM ONE

Alongside the hardware, SprintRay has announced a new Partnership with GC and has been sharing GC technique guides for the restorative side of the workflow. The first covers cementation using GC's G-CEM ONE, a self-adhesive resin cement, paired with G-Premio BOND and G-Multi PRIMER.

The short version: you prepare and bond the tooth, sandblast and prime the restoration, then cement and seat the restoration, clean up the excess, and light cure. As always, follow each material's IFU for the exact protocol and cure times.
What is interesting is the bigger picture. As printed crowns move from temporary toward definitive use, having clear, validated cementation protocols matters a lot. It is good to see that side of the workflow getting proper attention, because the printing is only half the job. Getting the restoration to bond and last in the mouth is the other half.
Finishing and characterizing with Optiglaze


The second guide covers GC's Optiglaze for characterizing and glazing printed restorations, with the final cure done in the SprintRay NanoCure. The process is simple. Sandblast and clean, prime with G-Multi PRIMER, apply Optiglaze (color or clear) thinly with a brush without air blowing, then cure.

We use Optiglaze regularly, and in my experience, it is one of the best glazes for printables. It noticeably improves the surface luster and aesthetics of printed crowns and has proven reliable for us. If you are printing restorations and not already glazing them properly, this is worth looking into.
Where this leaves things
The through-line across all of this is that the 3D-printing restorative workflow continues to mature. A couple of years ago, the conversation was mostly about whether you could print a usable crown at all. Now we are talking about multi-unit production, dedicated cementation protocols, and proper finishing systems. The pieces are coming together.
Midas remains one of the more interesting stories in chairside printing. If you want the background, we covered it in depth in our podcast with SprintRay CEO Amir Mansouri, and we have written more broadly about 3D printing in dentistry across the site. It will be interesting to see where printed restoratives go from here, both in terms of materials and how much of this becomes everyday practice rather than a niche.
If you have any questions, please leave them below.
Looking to buy SprintRay products?
Buy them through iDD Shop