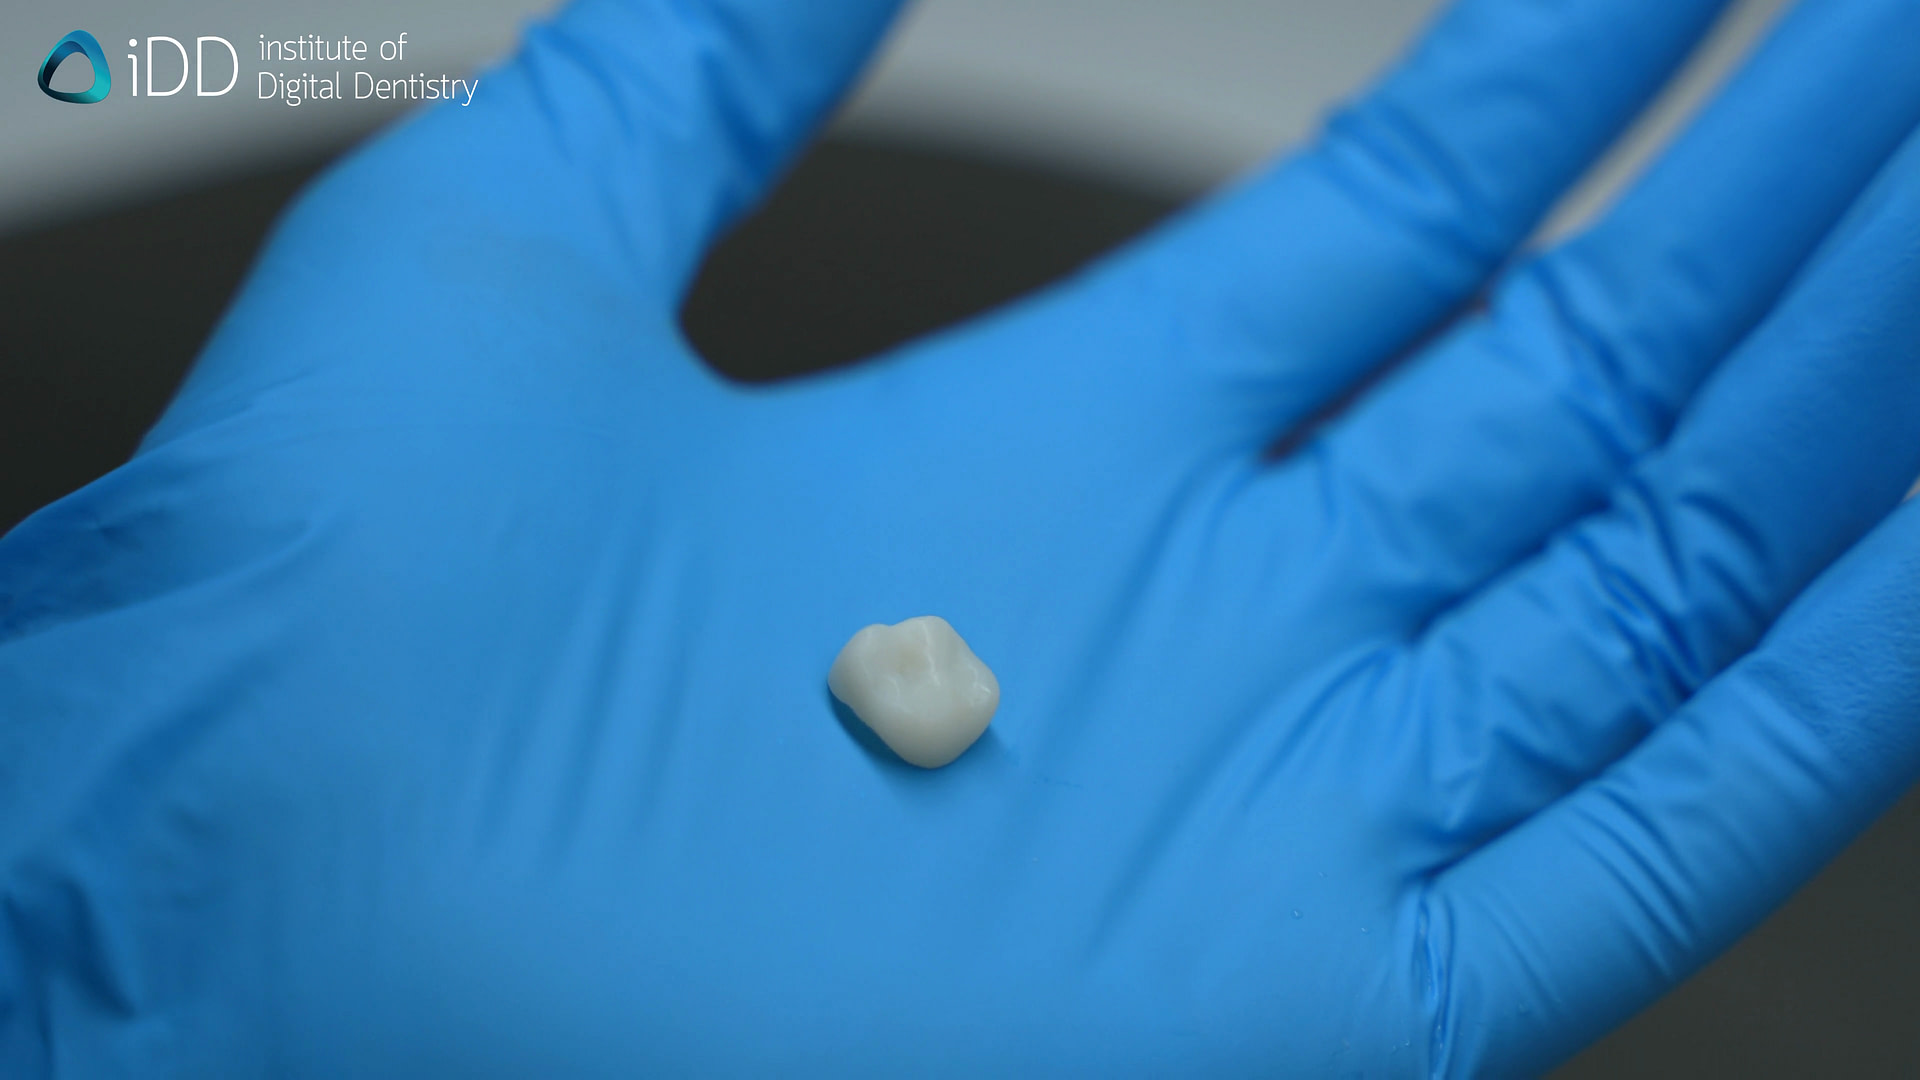
The world of dentistry has seen some revolutionary changes in recent years, and one of the most significant advancements has been the rise of 3D printing in dentistry. In particular, the exciting idea of 3D printing restorations.
We have previously covered the workflow steps involved in 3D printing dental models, splints and night guards and surgical guides. In this article, we dive into the process of 3D printing dental crown restorations using the SprintRay Pro 55 S 3D printer system.
Watch our workflow video or continue scrolling to read the full outline below.
Step 1: Take an Intraoral Scan
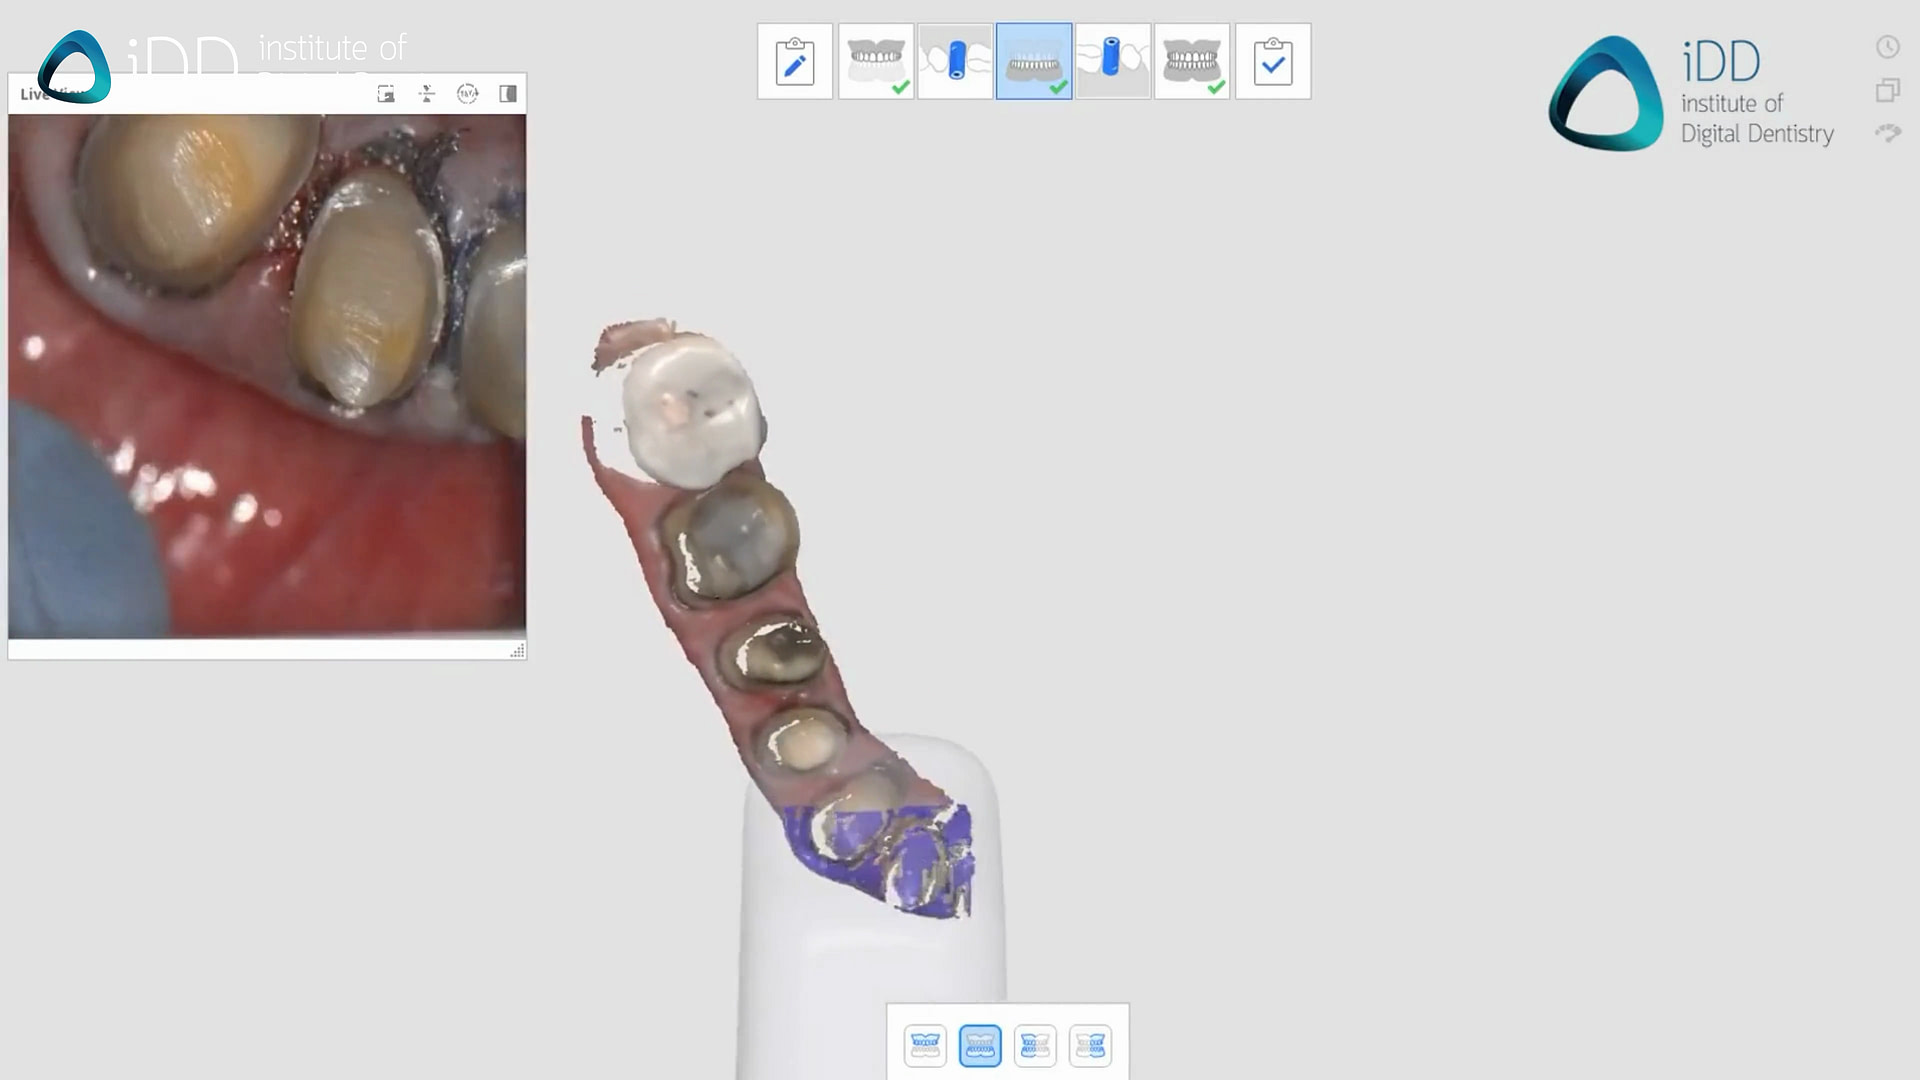
Like all 3D printing, or digital dentistry workflows, it all starts with an intraoral scan. Instead of traditional impressions using alginate or polyvinyl siloxane (PVS), a swift high-resolution digital scan using an intraoral scanner captures the intricacies of the patient's dental anatomy and tooth preparation. This forms the foundation for the entire restoration process.

Intraoral scan of patient using Medit i700 intraoral scanner.
Step 2: Digitally Designing the Crown Restoration/s using a CAD Software
Once the scan has been completed, next comes the CAD step.
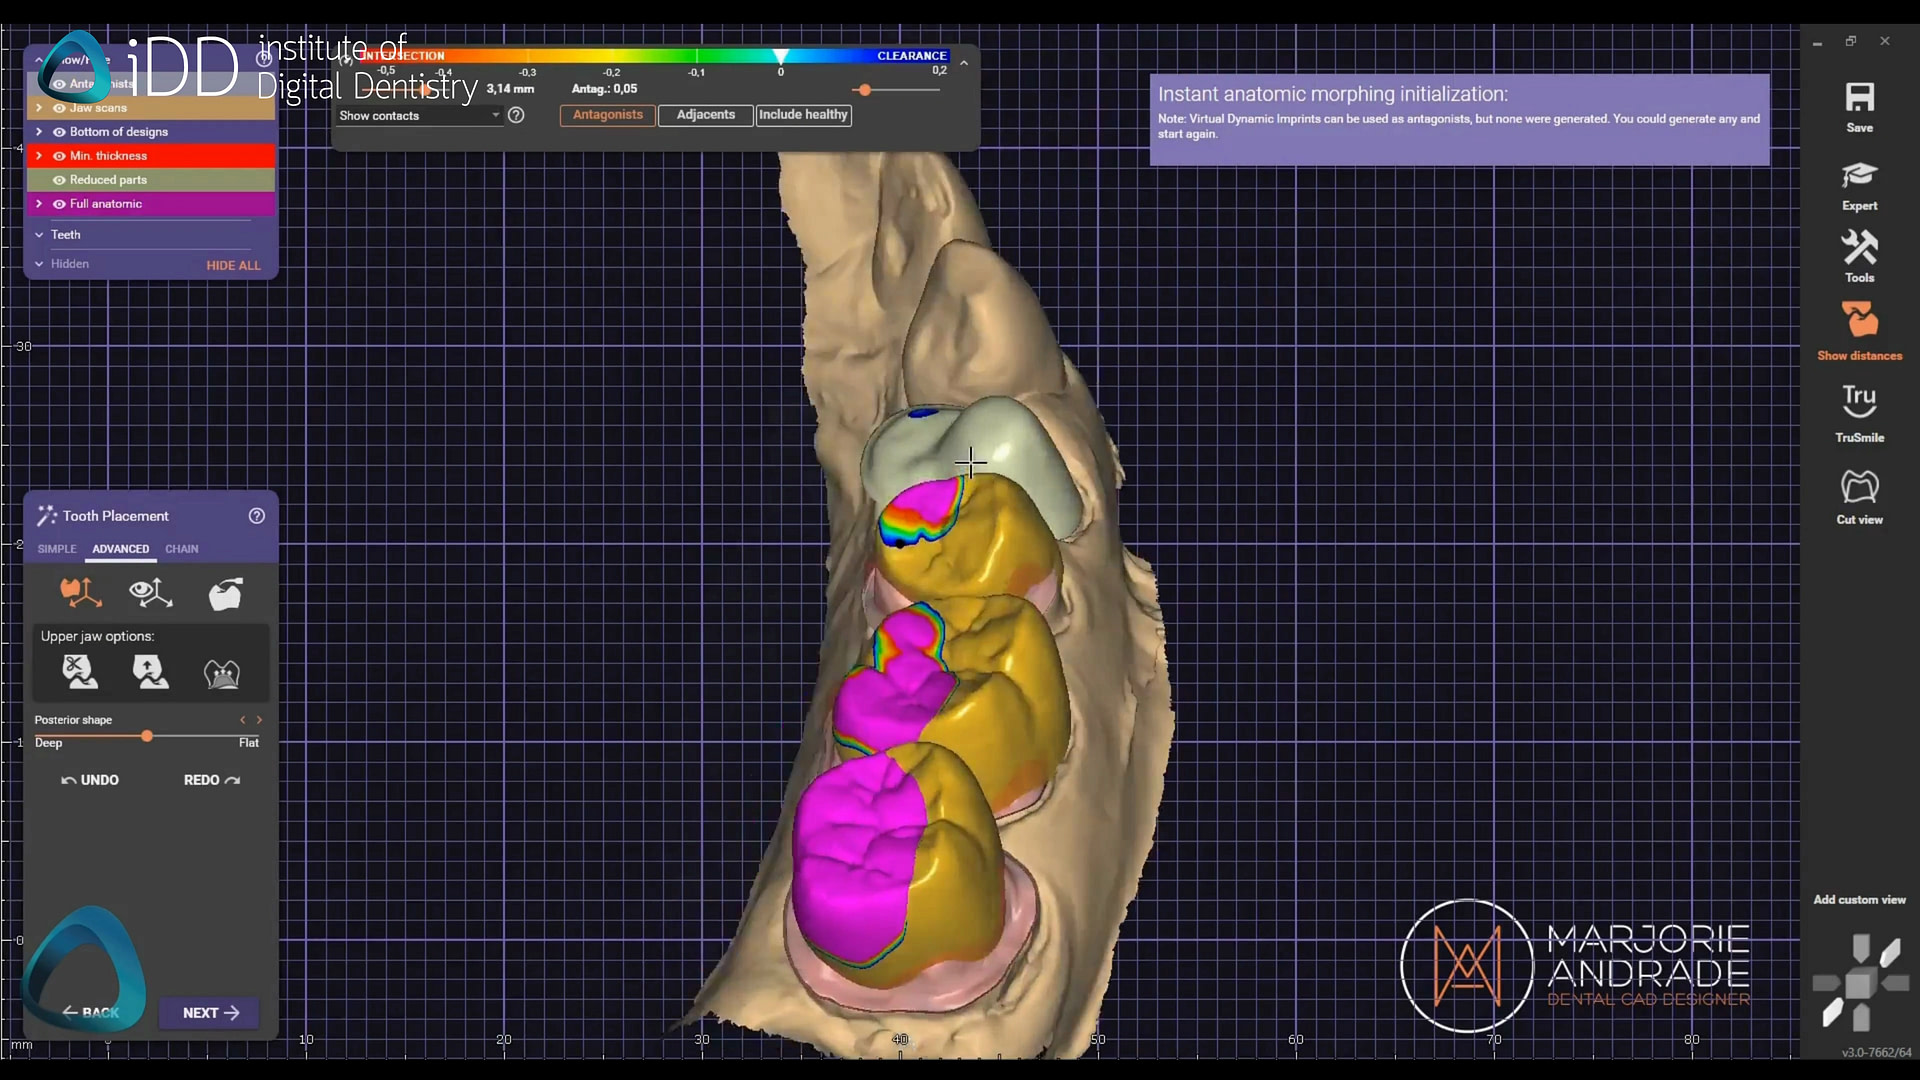
A dental CAD software like exocad allows for a meticulous crown design that ensures a snug fit and accurate morphology. Make sure to consider bite alignment, adjacent teeth, and esthetics while designing.

Digitally designing crown restorations using exocad CAD software.
When you are satisfied with your crown design, it's then saved and exported as an STL file, which is the universal language used in digital dentistry and can be imported into your 3D printer.
In the SprintRay ecosystem, RayWare is the 3D printing software used to run the printer and takes on the task of slicing the design, preparing it for the upcoming print. Slicing in 3D printing refers to the process of converting a 3D model into a series of thin layers or "slices", dictating how each layer should be printed sequentially to create the final object. In this case, a dental crown restoration.

Importing the crown's STL file onto RayWare, SprintRay's printer software.
Step 3: Setting up the 3D Printer
The SprintRay Pro 55S system is complemented by the new Pro S Crown Kit. This kit was designed with printing crowns in mind and consists of a tailor-made small build platform and resin tray. The focus of the company seems to be chairside 3D printing restorations and they appear to be leading the market in this.

Unboxing SprintRay's Pro S Crown Kit.
Replace and/or clean both the build platform and the resin tank. Make sure that the build platform is in place and leveled. Now it’s time to prepare the resin material.

Inserting a clean SprintRay printing tray.
Choosing the right resin isn't just about aesthetics—it's about durability, biocompatibility, and precision.
For dental crowns, it's essential to choose a biocompatible, long-lasting, and tooth-colored resin. Remember to always use materials and methods that comply with dental and health standards in your region.
The SprintRay OnX NanoCeramic Hybrid was used as the printer resin in conjunction with their Pro 55S System and Pro S Crown kit. The company has also since released their ‘ceramic’ crown resin.

OnX NanoCeramic Hybrid 3D printing resin by SprintRay.
Quick tip: always remember to give the resin a good, thorough mix/shake before pouring it into your resin tank. This ensures even consistency during printing and eliminates any potential discrepancies.
Step 4: 3D Printing the Dental Crown Restorations
Load the .stl file into the slicing software compatible with your 3D printer. This software will convert the design into layers for printing. Configure the necessary print settings: optimal resolution, print speed, and other factors vary based on the printer and material.
With everything set, initiate the 3D printing process. The SprintRay Pro 55 S produces the crown in a swift 17 minutes.

17 minutes to 3D print a dental crown using SprintRay's Pro 55S 3D Printer.
The end product? A near-perfect dental restoration, ready for post-processing.
Step 5: Post-Processing the 3D Printed Dental Crown Restorations
Before it's ready for the patient's mouth, the crown needs a thorough cleaning.
Remove the finished crown from the print platform.
The SprintRay Pro Wash and Dry unit, used with isopropyl alcohol, ensures any excess resin that remains on the crown is effectively washed away, leaving a clean crown to cure.
The SprintRay Pro Cure 2 was used for the final curing, with 9 minutes under its UV lights to solidify and enhance the physical properties of the final restoration.

Curing the washed and dried 3D printed dental crown using the ProCure 2 by SprintRay for 9 minutes.
Once fully cured, the crown is cleaned one last time using a steam cleaner to ensure all residues are removed and the surface is smooth.

Clean the cured crown using a steam cleaner to remove all residues.
Step 6: Finishing the 3D Printed Dental Crown Restorations
Carefully remove any printing supports.

Carefully use a cutting wheel to remove printing supports from the occlusal surface of the 3D printed dental crown.
Finish the 3D printed crown and refine the crown's surface and edges to ensure a perfect fit and appearance. You can use any resin polishing system/polishing kit of your choice.

Finish off the post-processed dental crown and refine any occlusal morphology.
Once the crown is finished, it's showtime in the clinic. Test it in the patient's mouth before bonding.
Once everything is ready for bonding you then sandblast the intaglio of the restoration. Sandblast with 25-50µm alumina (0.2MPa). Clean with an oil-free air syringe or ultrasonic cleaner. Clean further with alcohol. Apply silane coupling agent and proceed with your bonding protocol.
There you have it—a step-by-step guide from a digital scan to a 3D printed crown, all thanks to the SprintRay Pro 55S system.
Are you a part of the dental revolution, too?


If your clinic or lab has embraced 3D printed crowns, share your experiences and insights in the comments below!
Check out our 3D Printing and Design course bundle available online now with our Premium membership or as a one-off purchase discounted at 50% off.
Alternatively, learn how to design crowns and unlock the power of exocad by mastering more tips and tricks, click here.

